This article will describe installing LinuxMint 19.
Table of Contents
1 Install LinuxMint 19
The following iso image is provided. This article will use linuxmint-19-cinnamon-64bit.iso.
Boot linuxmint-19-cinnamon-64bit.iso.
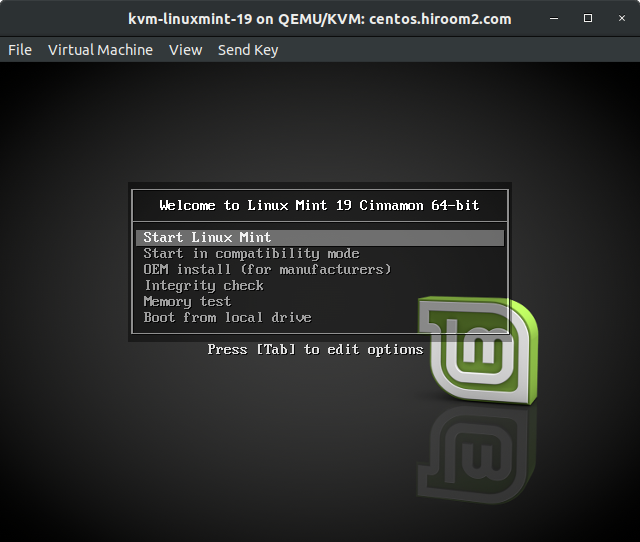
When pressing key like Esc key, GRUB menu is displayed. Select "Start Linux Mint".
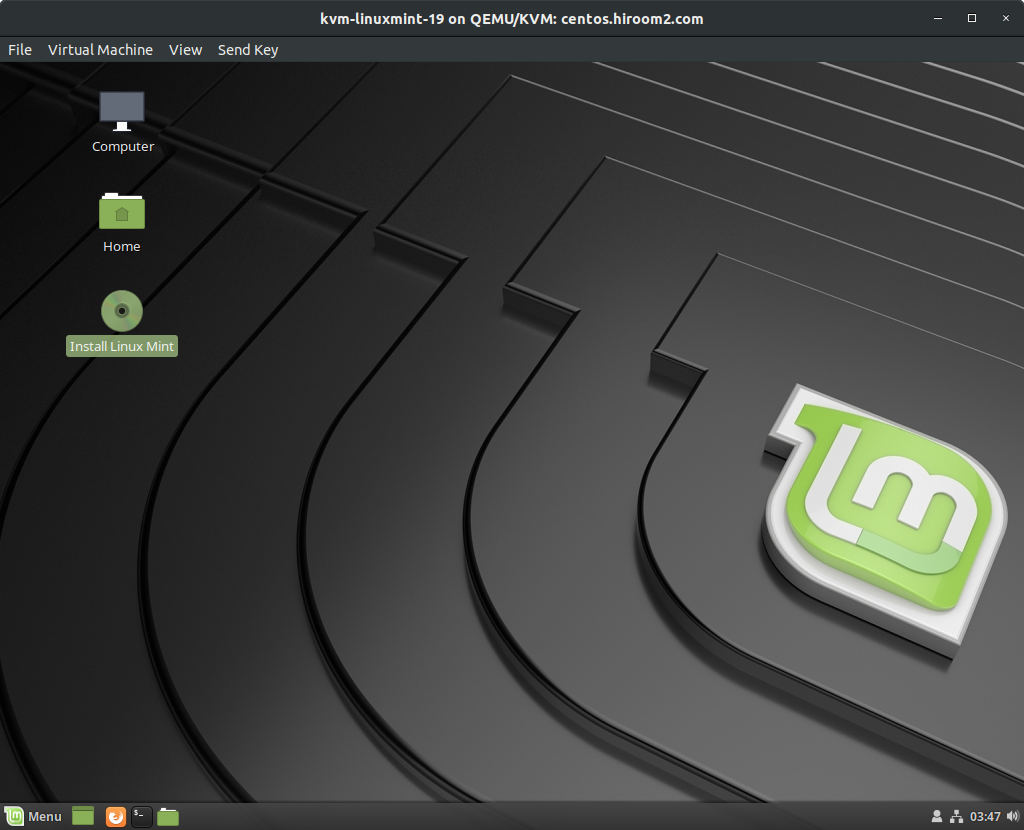
Desktop is displayed. Double click on "Install Linux Mint" icon.
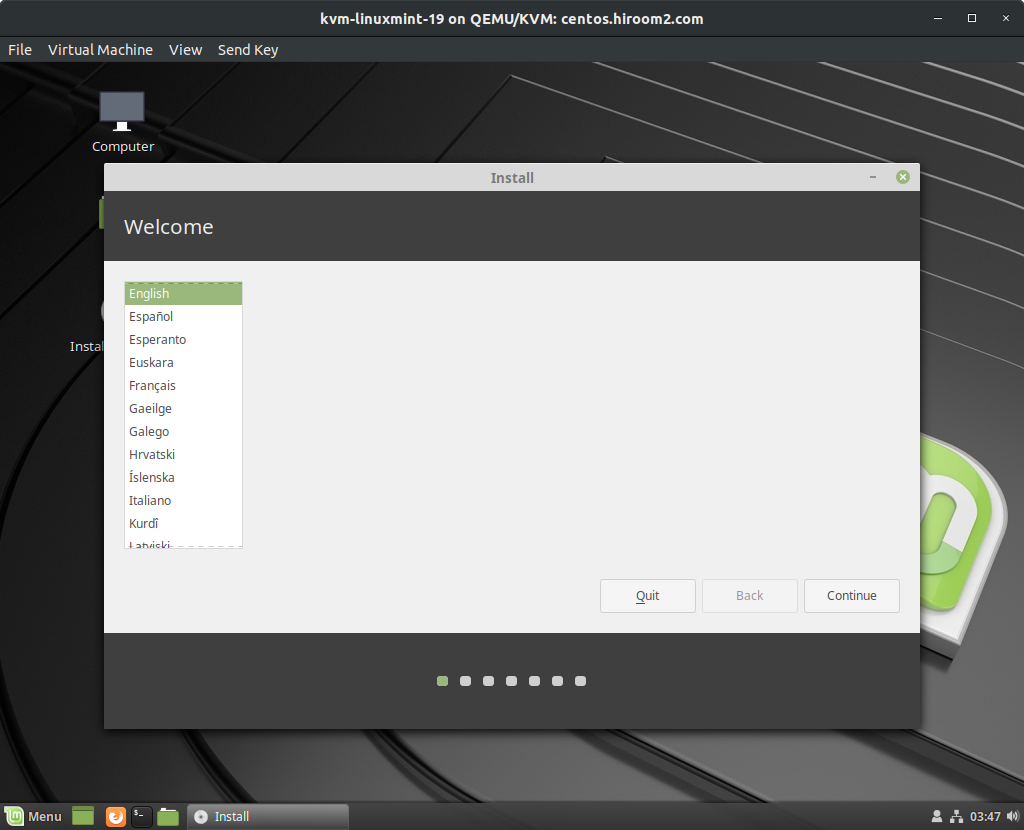
Select language.
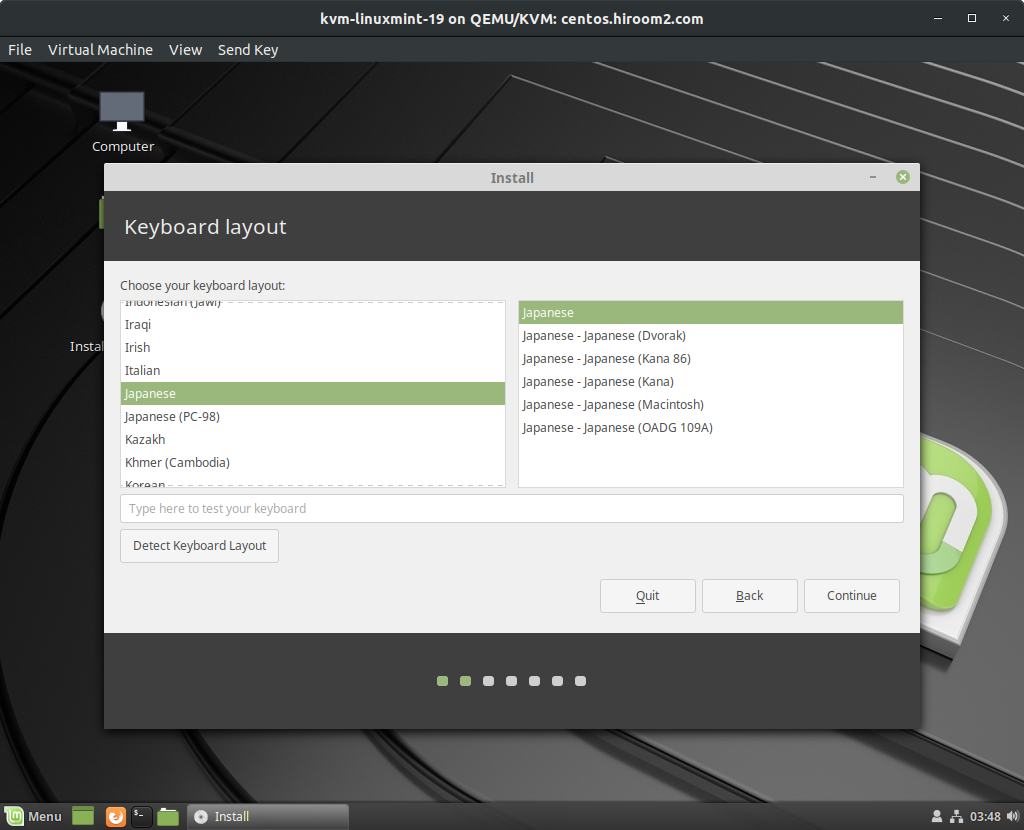
Keyboard layout setting is displayed.
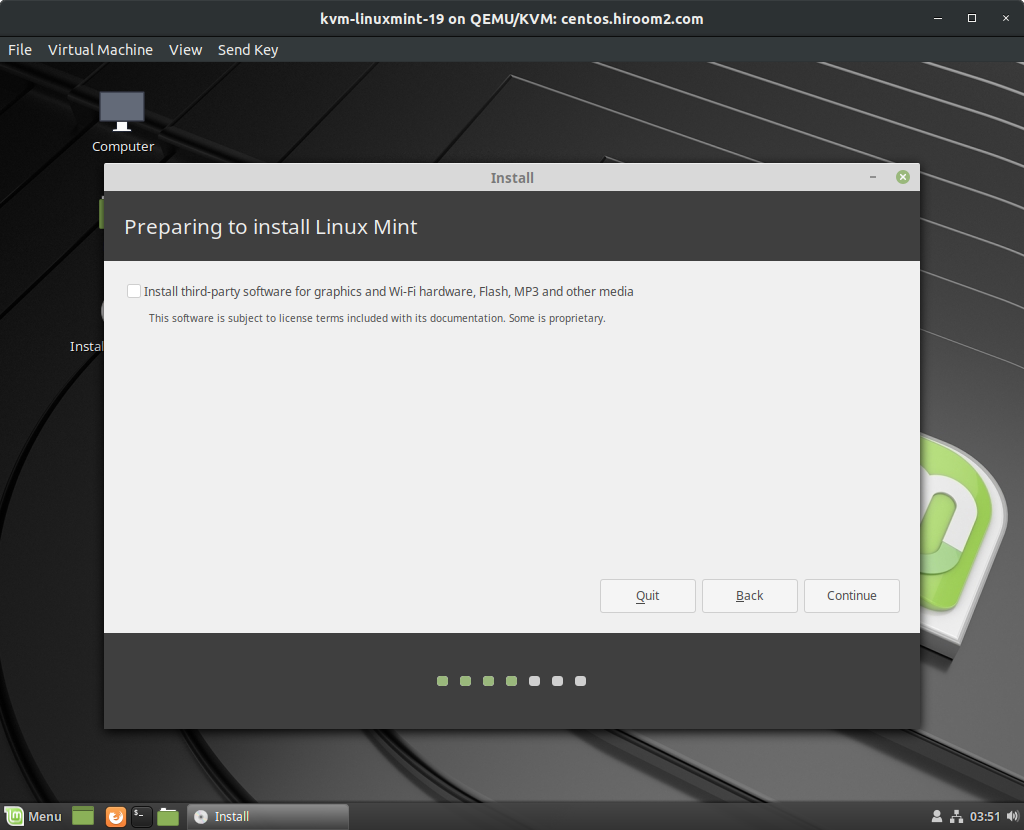
If you have NVIDIA board or new WIFI chip, check "Install third-party software …".
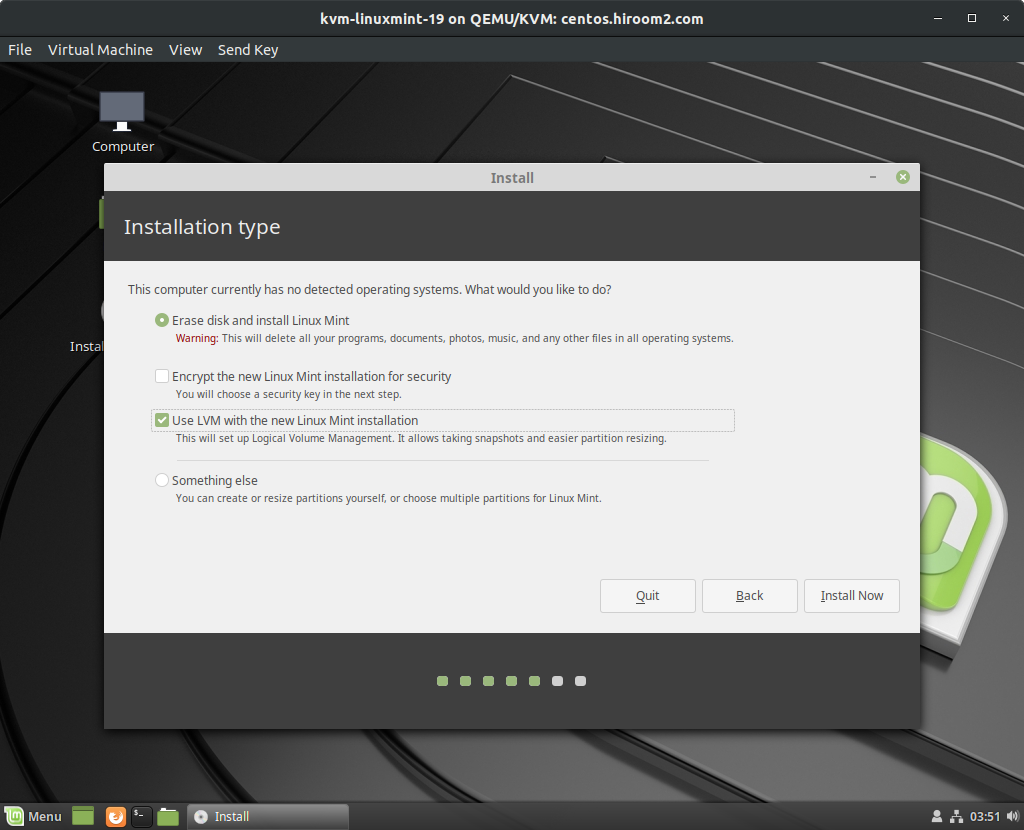
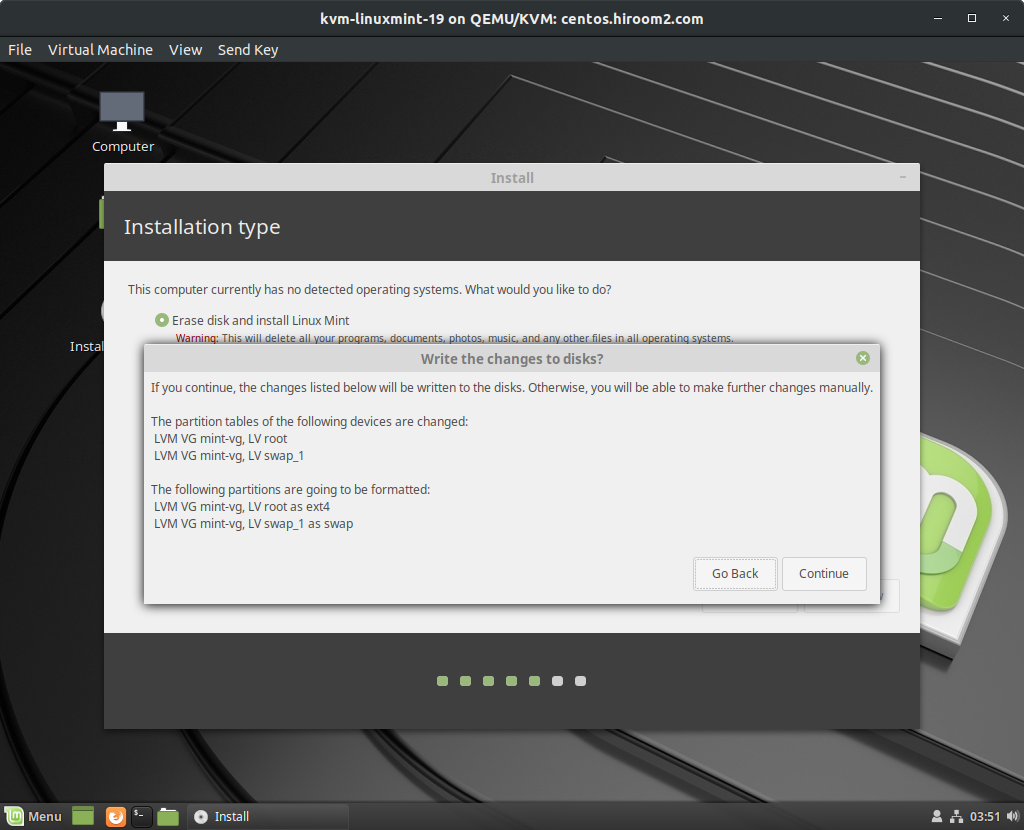
Disk partition setting is displayed. This article will use whole of disk and enable LVM.
Confirmation of partition is displayed.
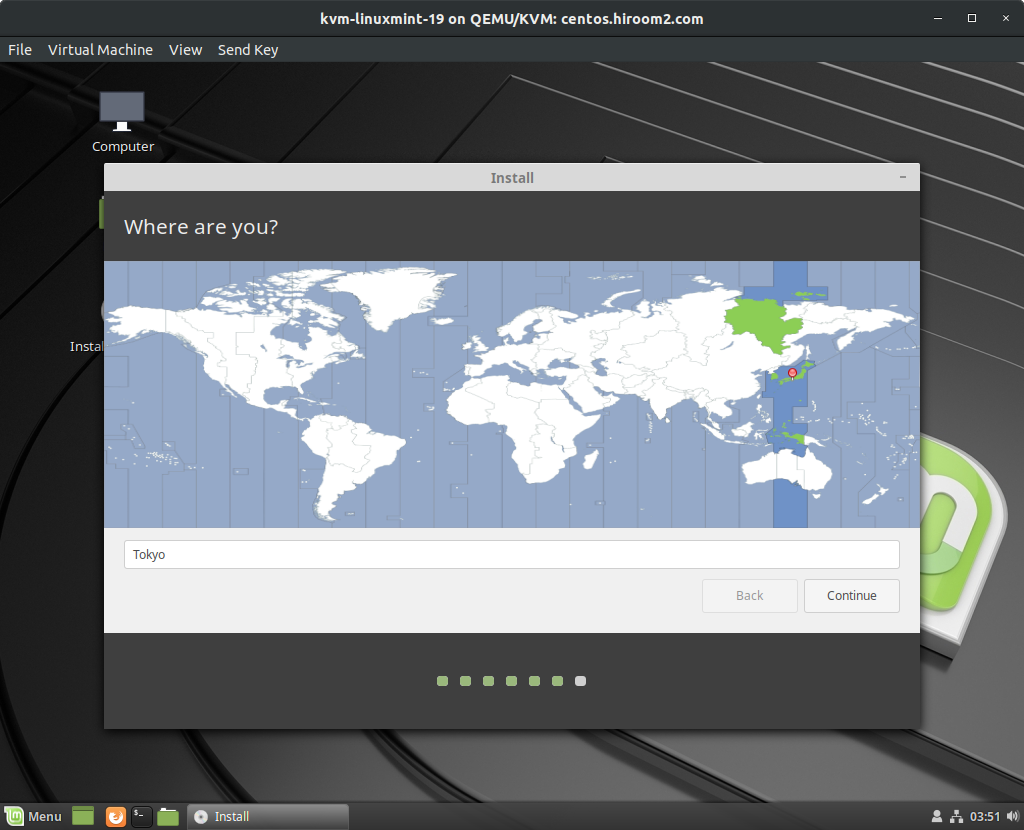
Timezone setting is displayed. Please click on your country.
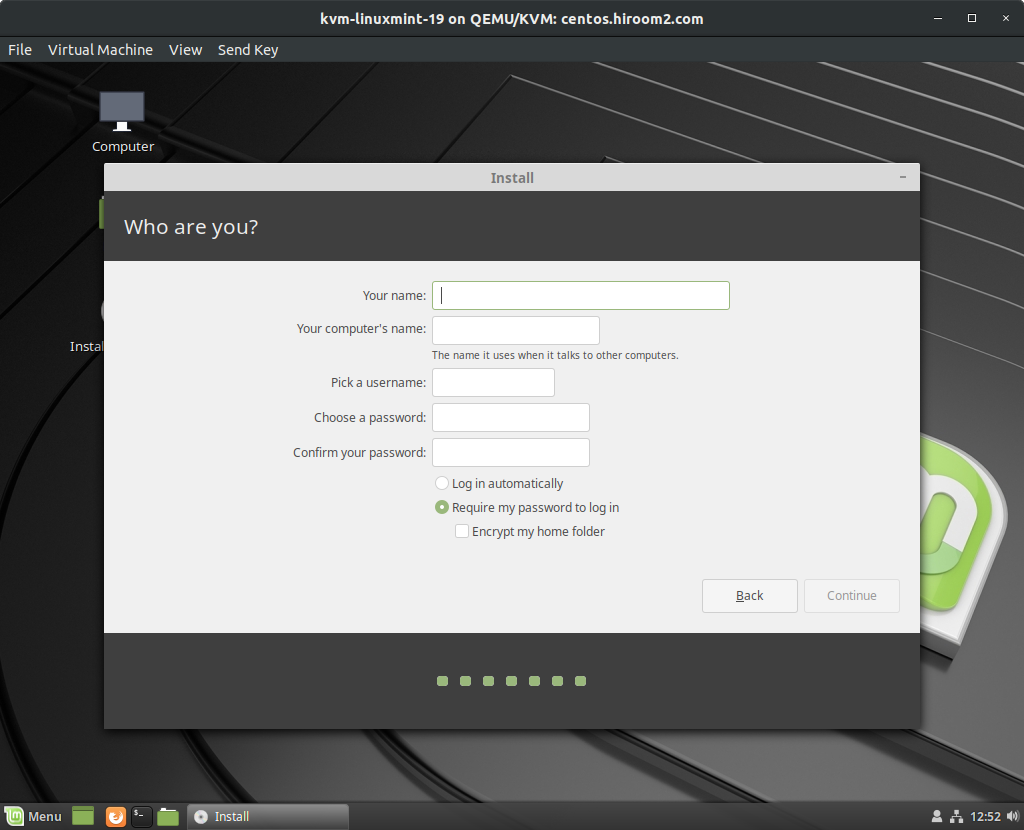
Hostname and user setting is displayed.
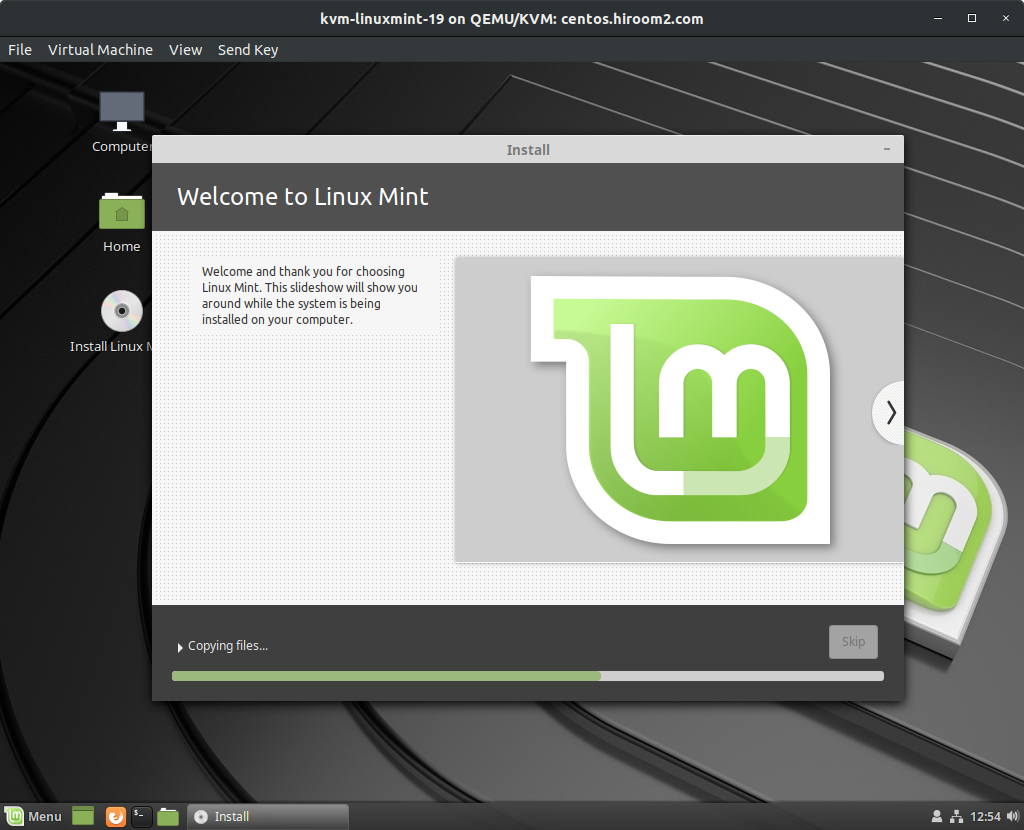
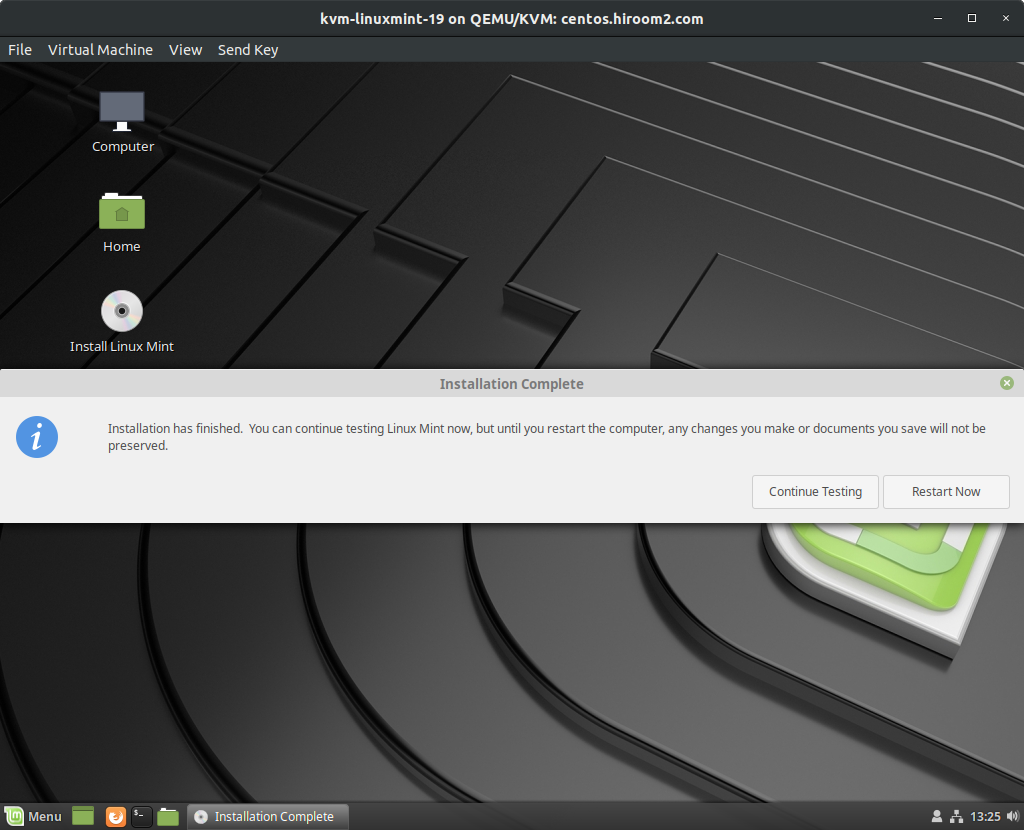
Please wait installation is completed.
Reboot machine when installation is completed.
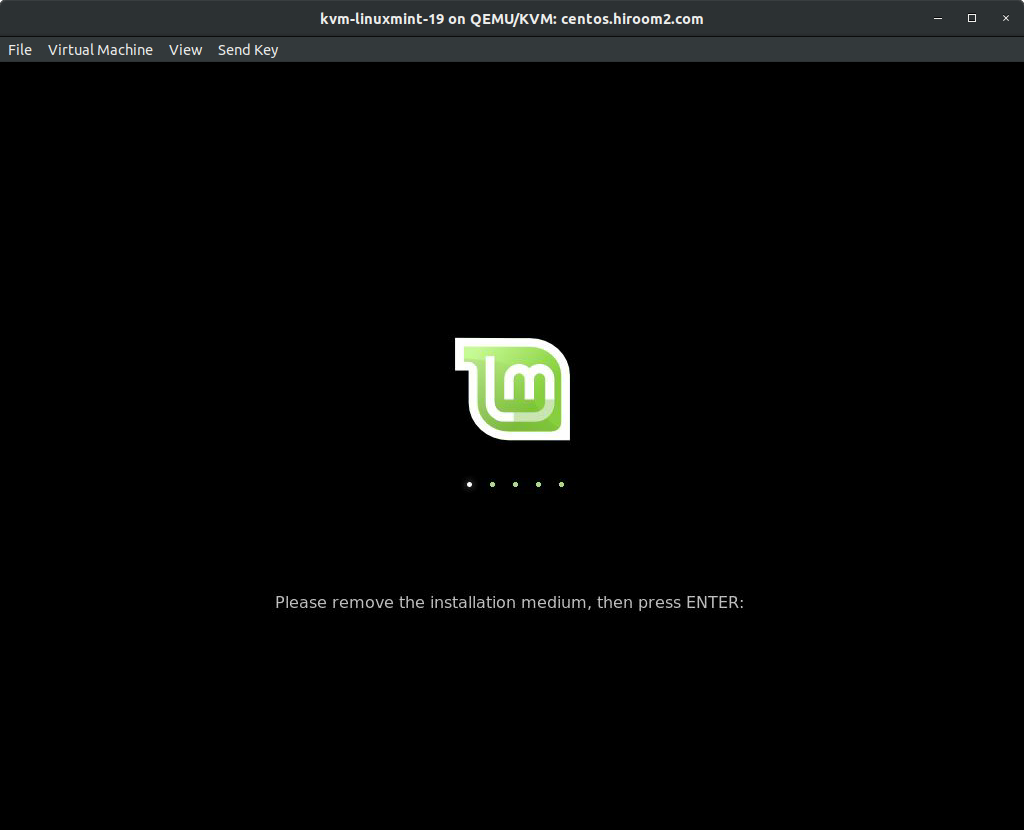
Remvoe installation medium and press ENTER key.
LinuxMint is running after reboot.