XRDPをインストールして、GNOMEデスクトップ環境にXRDPで接続する手順を記載します。
Table of Contents
1 XRDPのインストール
xrdpパッケージをインストールします。
#!/bin/sh -e

# Xorg doesn't need TigerVNC.
sudo apt install -y xrdp

# The new_cursors draws black background around cursor.
sudo sed -e 's/^new_cursors=true/new_cursors=false/g' \
     -i /etc/xrdp/xrdp.ini
sudo systemctl restart xrdp

# Load Ubuntu config.
D=/usr/share/ubuntu:/usr/local/share:/usr/share:/var/lib/snapd/desktop
cat <<EOF > ~/.xsessionrc
export GNOME_SHELL_SESSION_MODE=ubuntu
export XDG_CURRENT_DESKTOP=ubuntu:GNOME
export XDG_DATA_DIRS=${D}
export XDG_CONFIG_DIRS=/etc/xdg/xdg-ubuntu:/etc/xdg
EOF

# Avoid Authentication Required dialog.
cat <<EOF | \
  sudo tee /etc/polkit-1/localauthority/50-local.d/xrdp-color-manager.pkla
[Netowrkmanager]
Identity=unix-user:*
Action=org.freedesktop.color-manager.create-device
ResultAny=yes
ResultInactive=no
ResultActive=yes
EOF
sudo systemctl restart polkit
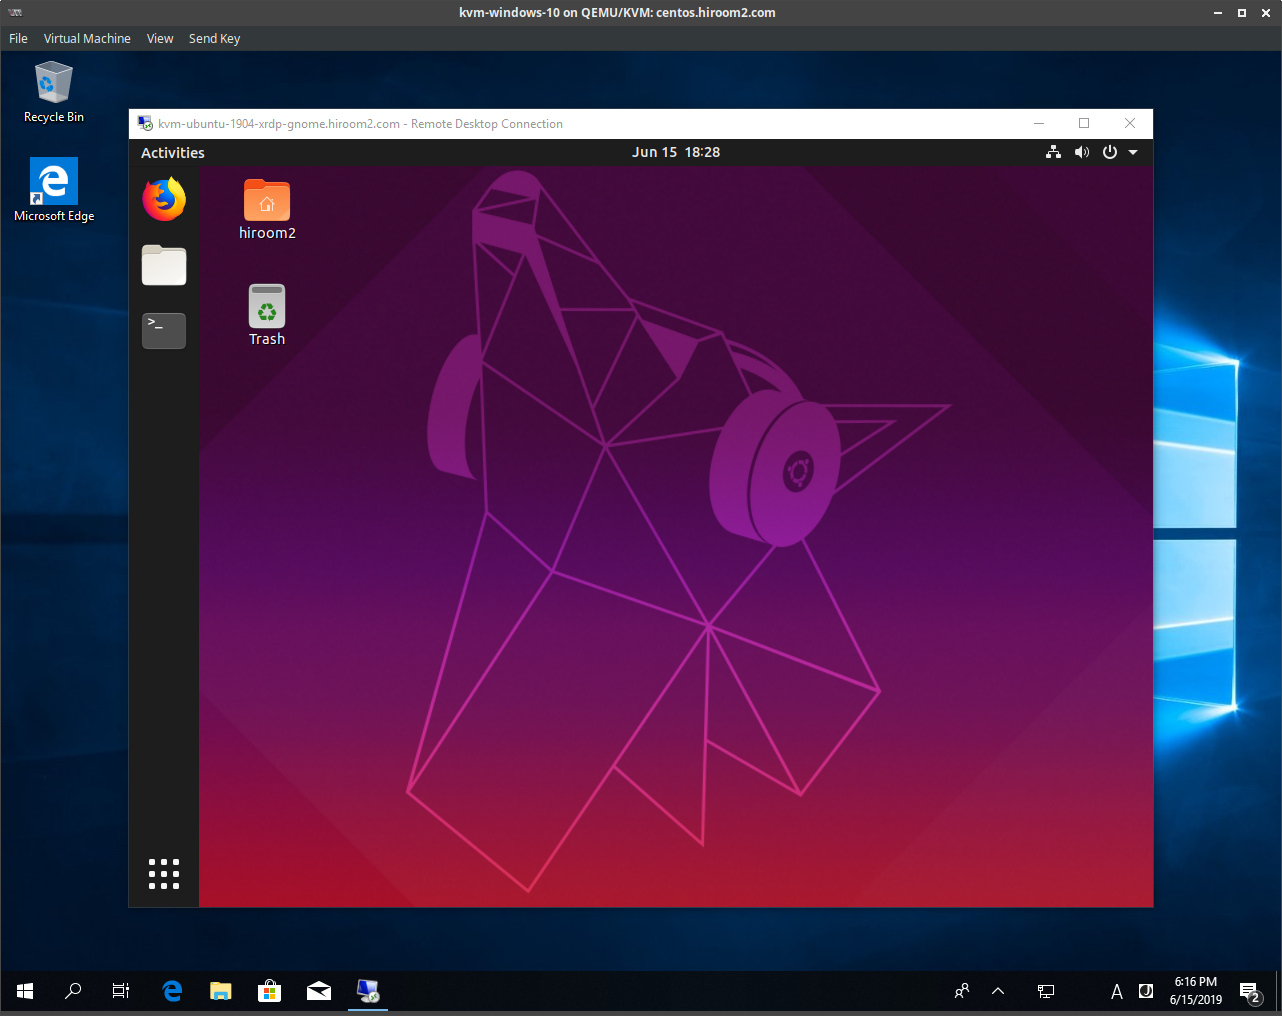
2 GNOMEデスクトップ環境にXRDPで接続する
セッションタイプはXorgで接続します。 Windowsのリモートデスクトップ接続で接続すると以下のようになります。