ウェブベースのシステムモニタツールのNagiosをインストールする手順を記載します。
Table of Contents
1 Nagiosをインストールする前に
あらかじめこちらの手順でPostfixをインストールしておきます。
2 Nagiosのインストール
NAGIOS_PASSWDはDigest認証のnagiosadminユーザのパスワードで使用します。
#!/bin/sh -e

NAGIOS_PASSWD=nagios

nagios_install()
{
  sudo apt install -y apache2
  sudo a2enmod auth_digest
  sudo a2enmod authz_groupfile

  sudo apt install -y nagios4
  sudo sed -i /etc/apache2/conf-available/nagios4-cgi.conf \
       -e 's;Require all\tgranted;#Require all\tgranted;g' \
       -e 's;#Require\tvalid-user;Require\tvalid-user;g'
  sudo sed -i /etc/nagios4/cgi.cfg \
       -e 's;^use_authentication=0;use_authentication=1;g' \
       -e 's;^#default_user_name=guest;default_user_name=guest;g'
  for c in authorized_for_all_services \
             authorized_for_all_hosts \
             authorized_for_configuration_information; do
    sudo sed -i /etc/nagios4/cgi.cfg \
         -e "s;^${c}=nagiosadmin;${c}=nagiosadmin,guest;g"
  done
  sudo systemctl restart apache2

  # Create digest password file with expect command.
  sudo apt install -y expect
  expect -c "
set timeout -1
spawn sudo htdigest /etc/nagios4/htdigest.users Nagios4 nagiosadmin
expect \"New password: \"
send \"${NAGIOS_PASSWD}\n\"
expect \"Re-type new password: \"
send \"${NAGIOS_PASSWD}\n\"
expect eof
"
}

nagios_install
NagiosのApache2の設定は以下のファイルに記載されています。
/etc/apache2/conf-available/nagios4-cgi.conf
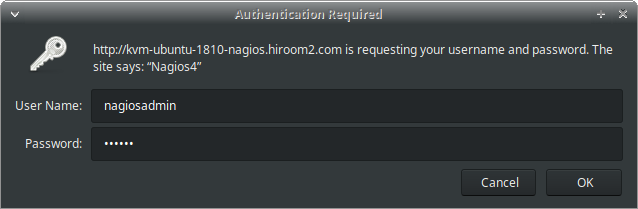
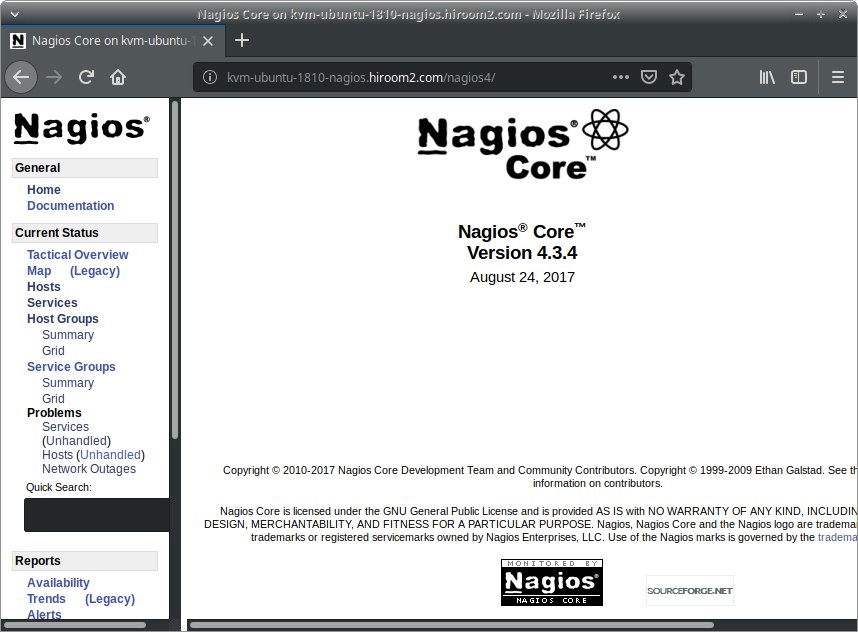
3 Nagiosへアクセスする
デフォルトでは以下のURLへアクセスします。
http://<server>/nagios4
コマンドを実行するためにはユーザをnagiosadminでパスワードを NAGIOS_PASSWDの値を入力します。