This article will describe installing Eclipse CDT.
Table of Contents
1 Install Eclipse
Install Eclipse CDT from repository for installing required package of running Eclipse CDT.
$ sudo apt install -y eclipse gcc g++ gdb
Download Eclipse installer.
$ URL=https://www.eclipse.org/downloads/download.php
$ ECLIPSE=/oomph/epp/oxygen/R/eclipse-inst-linux64.tar.gz
$ MIRROR=1
$ wget -q -O eclipse-inst-linux64.tar.gz \
  "${URL}?file=${ECLIPSE}&mirror_id=${MIRROR}"
$ tar zxf eclipse-inst-linux64.tar.gz
Run Eclipse installer.
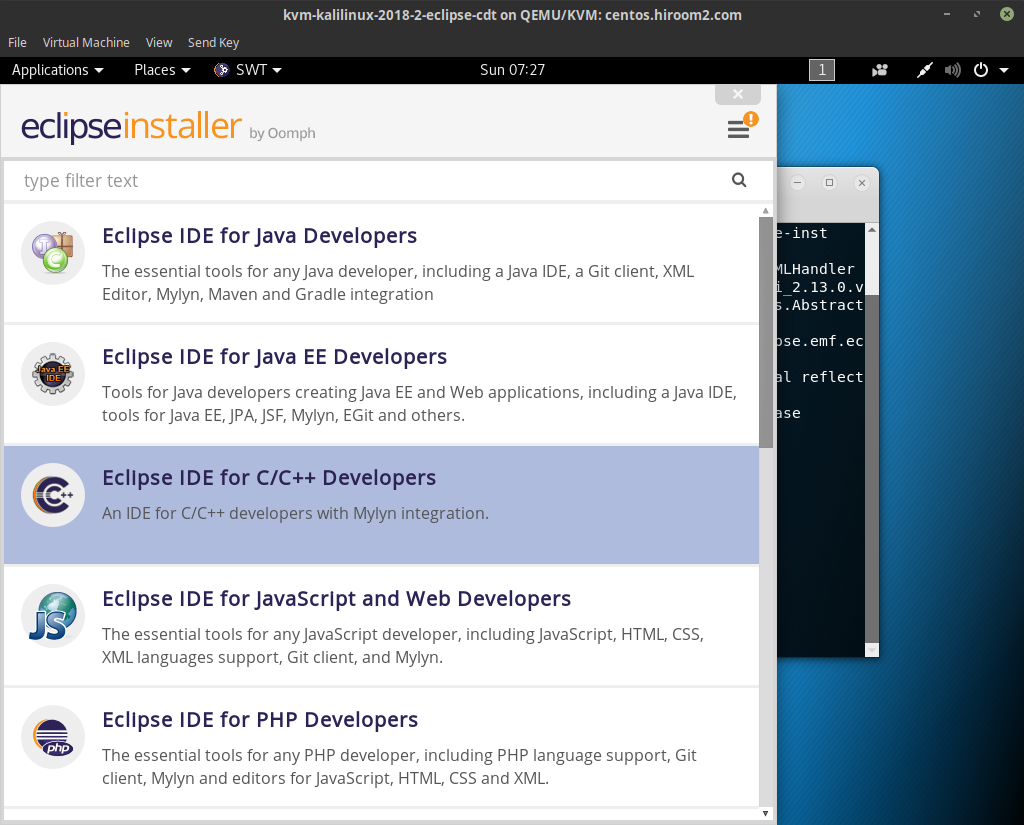
$ ./eclipse-installer/eclipse-inst
Select "Eclipse IDE for C/C++ Developers".
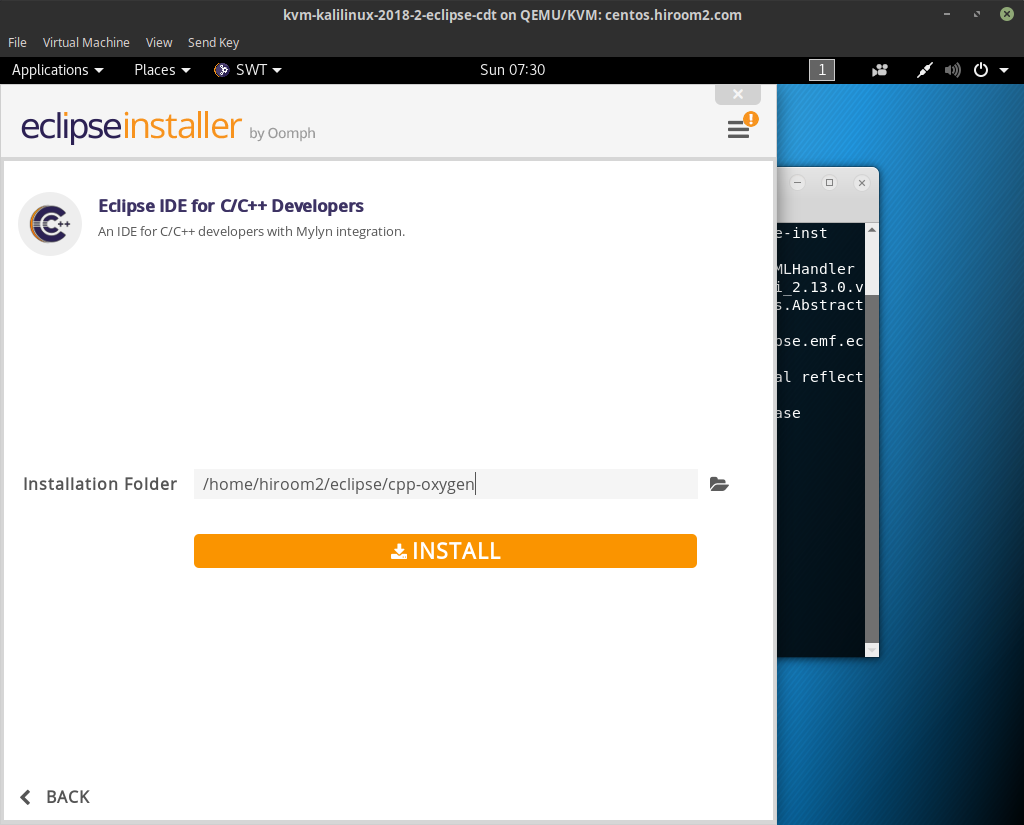
Decide install directory and press "INSTALL".
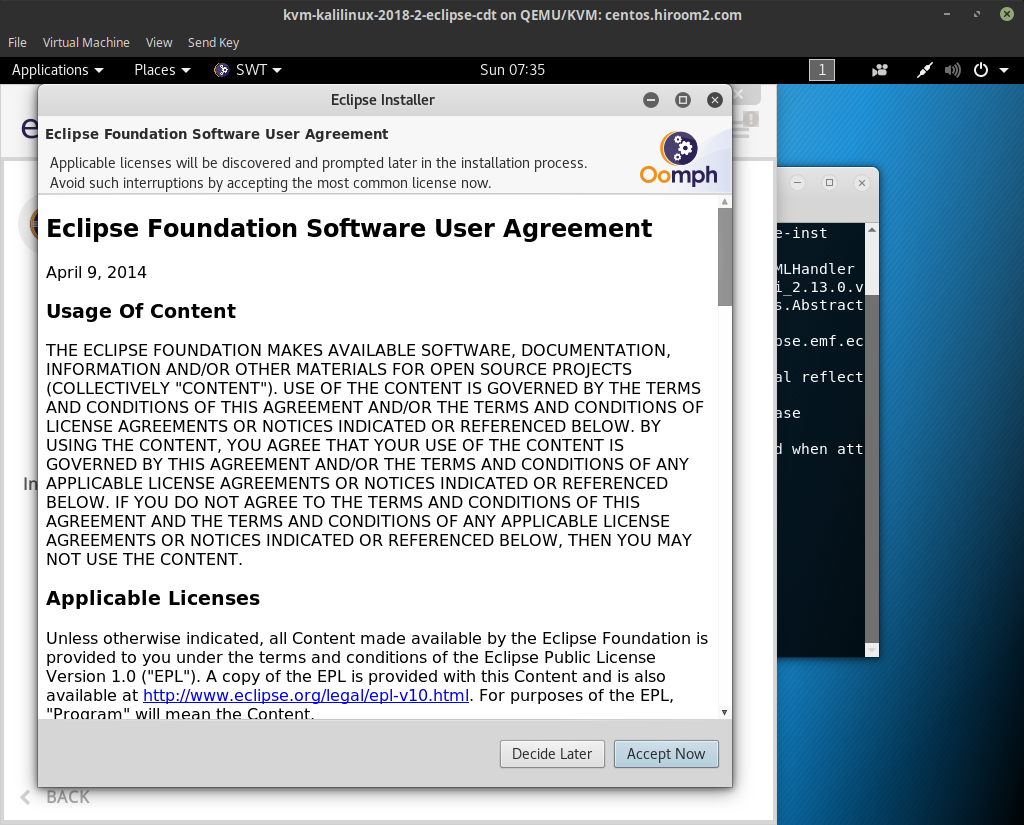
Agree with pressing "Accept Now".
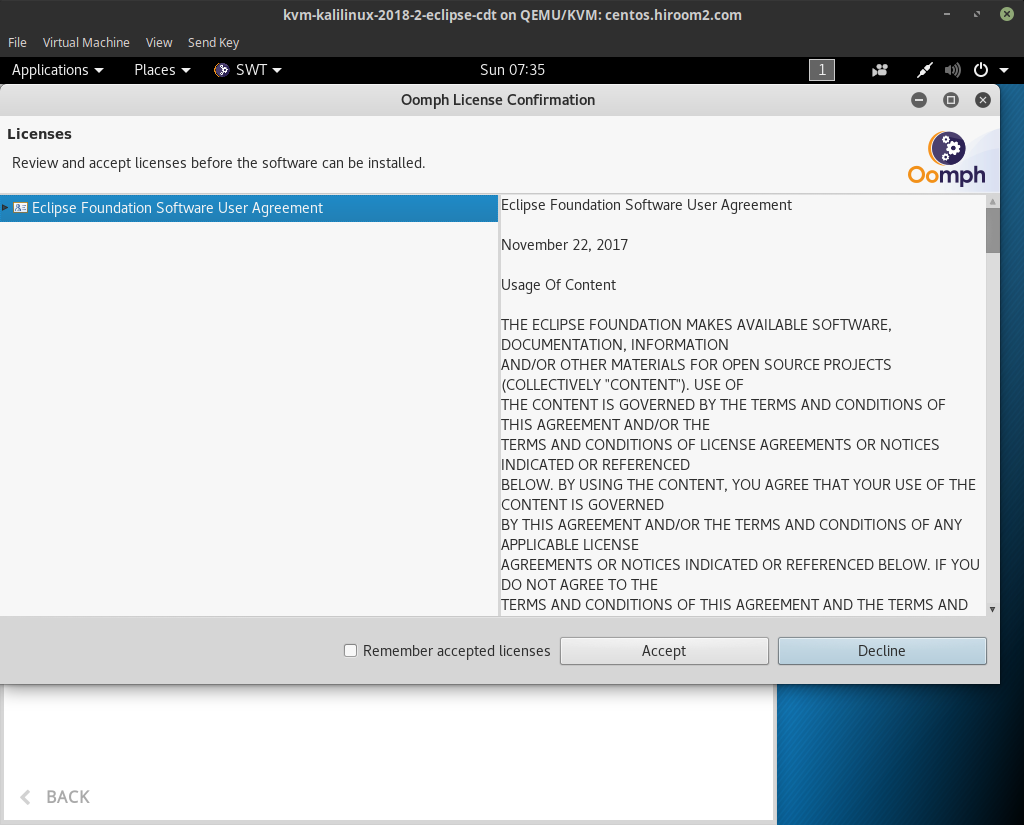
Accept license with pressing "Accept".
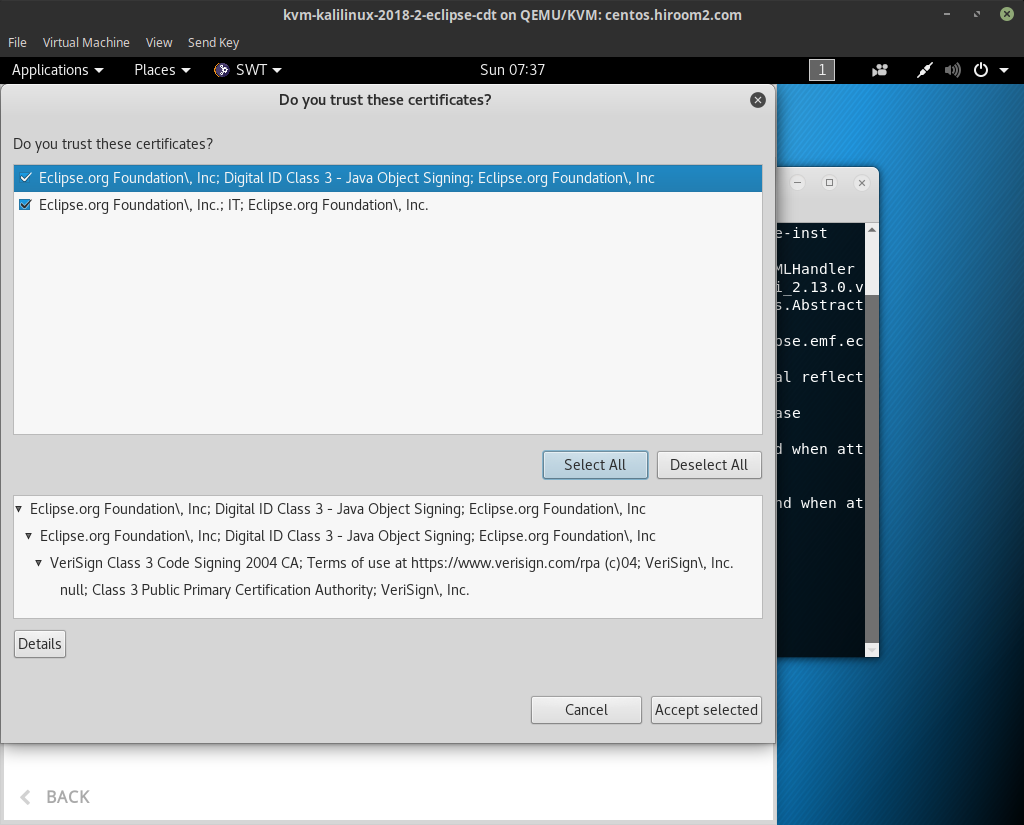
Accept download URL certificates with pressing "Select All" and "Accept selected".
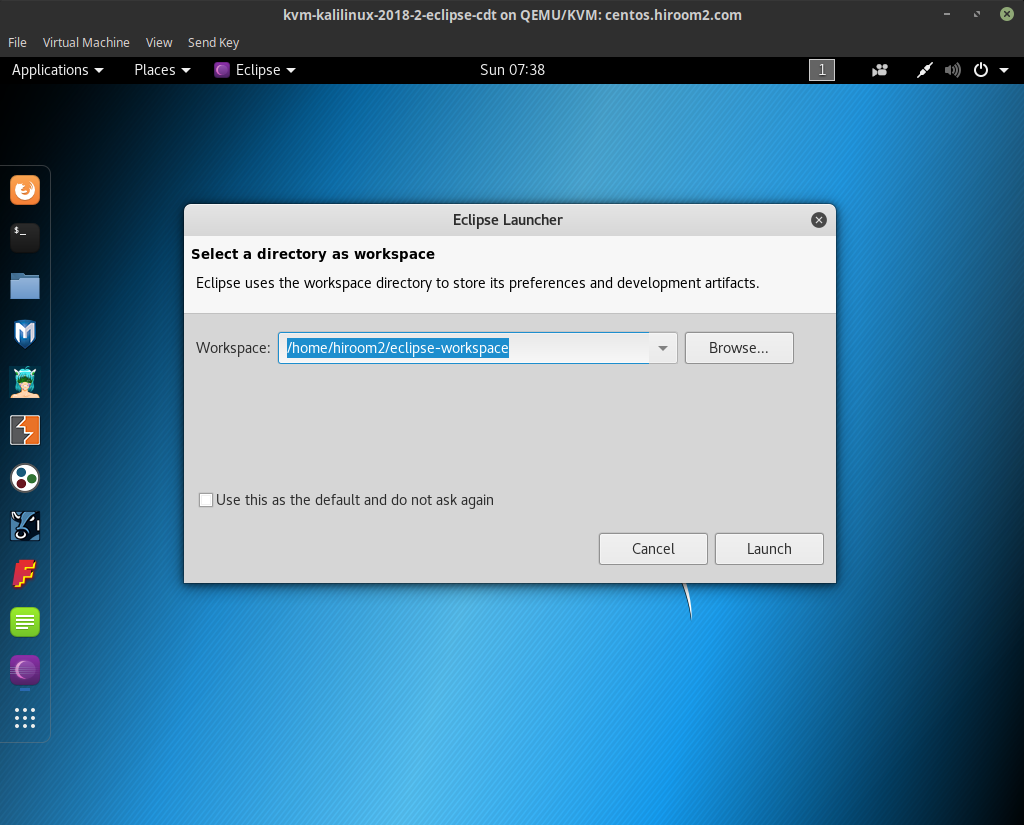
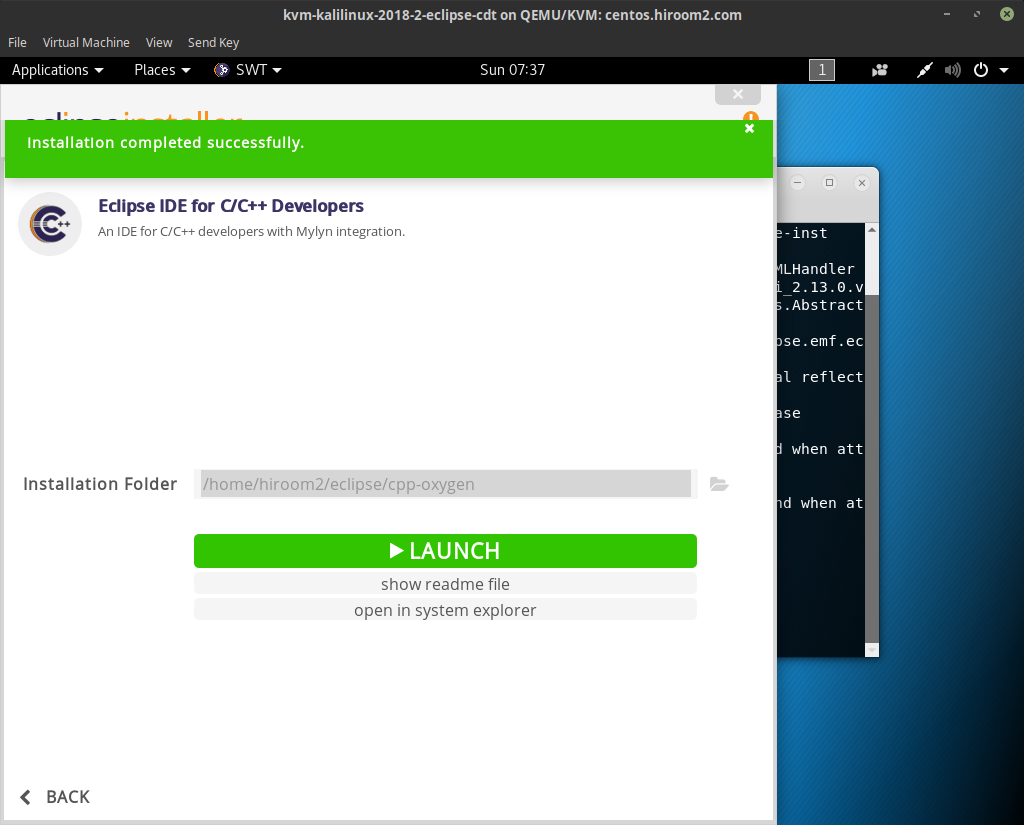
Eclipse installation is completed. Pressing "LAUNCH" runs Eclipse.
You can remove Eclipse installer.
$ rm -rf eclipse-inst-linux64.tar.gz eclipse-installer
Change Exec in desktop file of Eclipse which is in repository. Please change your eclipse path.
$ sudo sed -i /usr/share/applications/eclipse.desktop \
  -e "s;^Exec=eclipse;Exec=${HOME}/eclipse/cpp-oxygen/eclipse/eclipse;g"
2 Run Eclipse
Run the following command.
$ ./eclipse/cpp-oxygen/eclipse/eclipse