Gerritのインストール方法について記載します。
Table of Contents
1 Gerritをインストールする
個人の開発でJenkinsと連携するだけの為に使う場合は認証方法はDEVELOPMENT_BECOME_ANY_ACCOUNTのままで良いでしょう。
以下のスクリプトはGerritをインストールします。
#!/bin/sh -e


# Access to http://<hostname>:8080/.
cat <<EOF | sudo tee /etc/apt/sources.list.d/gerritforge.list
deb [trusted=yes] http://deb.gerritforge.com/ gerrit contrib
EOF
sudo apt update -y
sudo apt install -y openjdk-8-jdk haveged
sudo apt install -y gerrit
sudo systemctl enable gerrit
sudo reboot
以下のURLにアクセスします。
http://<hostname>:8080
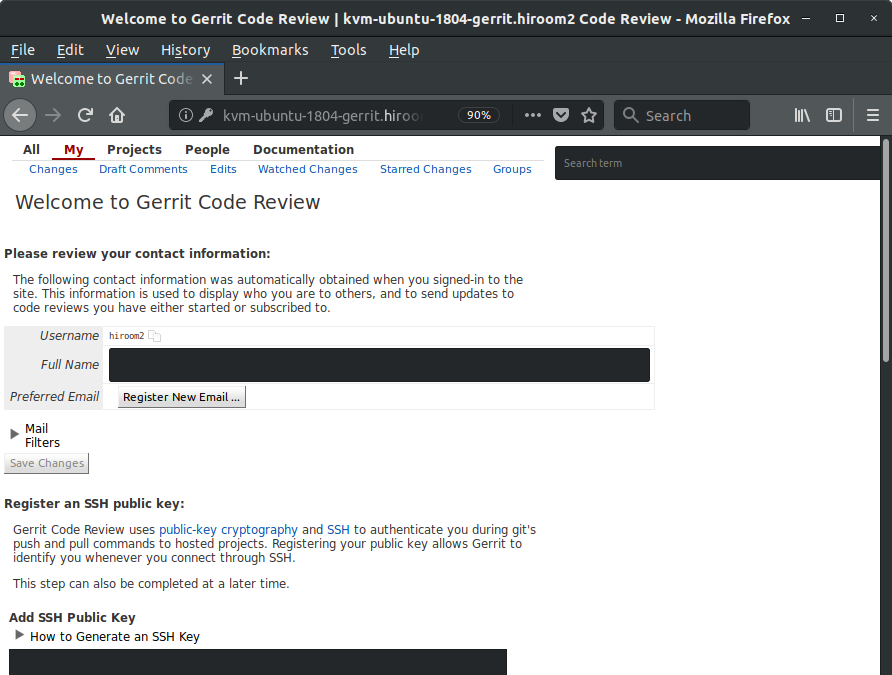
初期ページが表示されます。
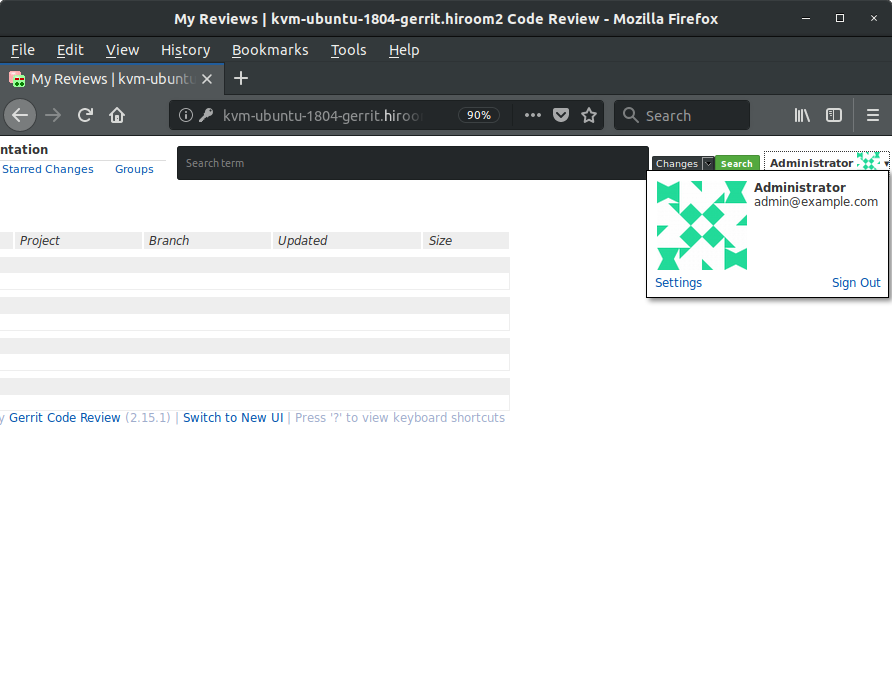
DEVELOPMENT_BECOME_ANY_ACCOUNTではどのユーザにもなることができます。
git cloneはHTTP経由でもSSH経由でも実行できます。
$ git clone http://<hostname>:8080/<project>.git
$ git clone ssh://<hostname>:49128/<project>.git
2 認証方法をHTTPに変更する
クローズドな環境、少人数の開発体制、LDAPが用意されていない場合は、認証方法をHTTPにしても良いでしょう。
ApacheのDigest認証のユーザ名とパスワードがGerritのユーザ名とパスワードとなります。
以下のスクリプトはインストールしたGerritの認証方法をHTTPに変更して、Apacheをセットアップします。
#!/bin/sh -e


GERRIT_ADMIN_PASSWD=gerrit
PORT=8080
FQDN=$(hostname)

# Make gerrit to accept only http://localhost:8080/ but to recognize
# http://<hostname>/ as web site URL.
sudo cp /etc/gerrit/gerrit.config /etc/gerrit/gerrit.config.orig
sudo sed -i /etc/gerrit/gerrit.config \
-e "s;type = DEVELOPMENT_BECOME_ANY_ACCOUNT;type = HTTP;g" \
-e "s;canonicalWebUrl = .*;canonicalWebUrl = http://${FQDN}/;g" \
-e "s;listenUrl = .*;listenUrl = proxy-http://localhost:${PORT}/;g" \
-e "s;firstTimeRedirectUrl = \(.*\);;g"
# If gerrit.service is enabled and still not complete to start, wait it.
while [ "$(systemctl is-active gerrit.service)x" = "activatingx" ]; do
  sleep 1
done
sudo systemctl restart gerrit

# Make apache to map http://<hostname>/ to http://localhost:8080/.
sudo apt install -y apache2
sudo systemctl enable  apache2
cat <<EOF | sudo tee /etc/apache2/sites-available/gerrit.conf
ProxyPass        / http://localhost:${PORT}/ nocanon
ProxyPassReverse / http://localhost:${PORT}/ nocanon
ProxyRequests    Off

<Proxy http://localhost:${PORT}/>
  Order deny,allow
  Allow from all
</Proxy>

<Location />
  AuthType Digest
  AuthName "gerrit"
  AuthUserFile /etc/apache2/.htdigest
  Require valid-user
</Location>
EOF
sudo a2enmod proxy_http
sudo a2enmod auth_digest
sudo a2ensite gerrit
sudo systemctl restart apache2

# Add gerrit user. You need to add htdigest for each user.
yes ${GERRIT_ADMIN_PASSWD} | \
  sudo htdigest -c /etc/apache2/.htdigest "gerrit" admin
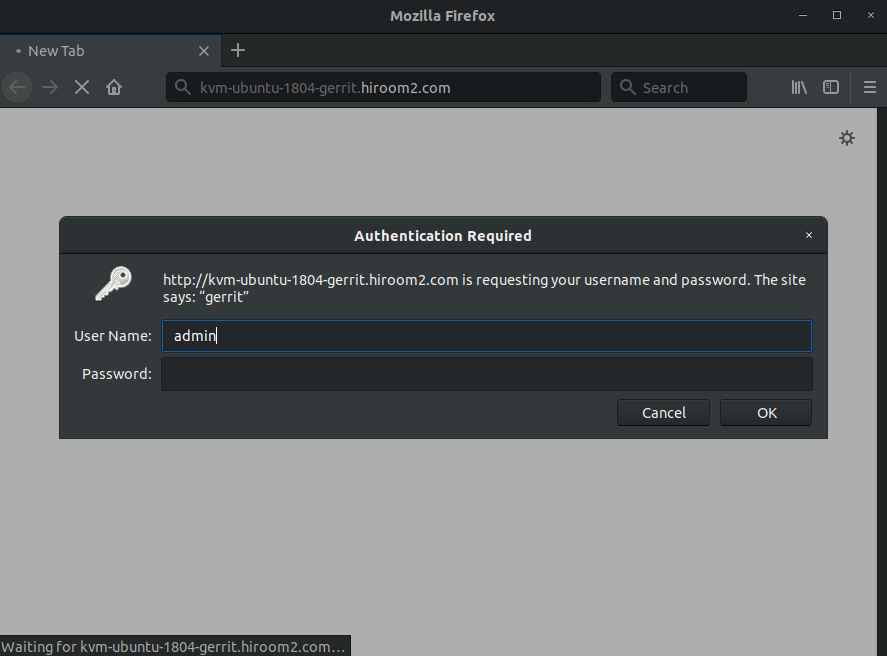
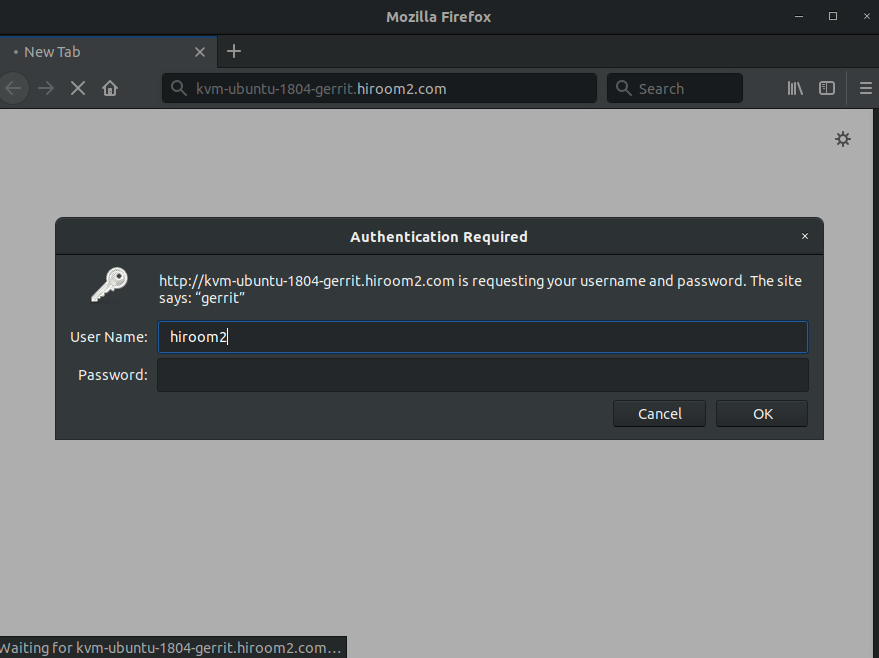
以下のURLにアクセスします。
http://<hostname>
Digest認証のダイアログが表示されます。
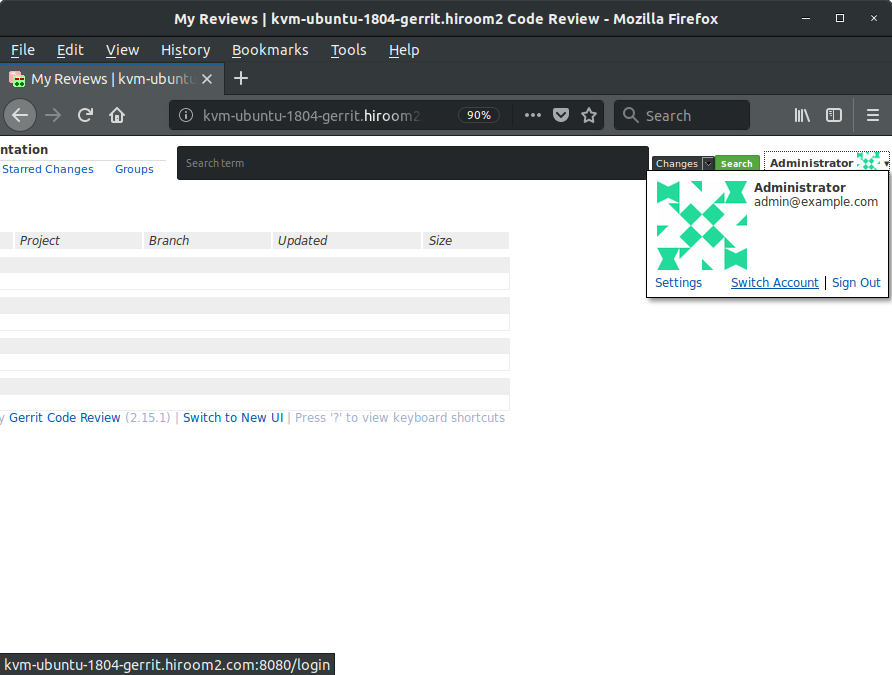
adminユーザでも"Switch Account"がありません。
git cloneはHTTP経由でもSSH経由でも実行できます。HTTP経由の場合はDigest認証のユーザ名とパスワードが必要になります。
$ git clone http://<hostname>/gerrit/<project>.git
$ git clone ssh://<hostname>:49128/<project>.git
新規にユーザを追加する場合はhtdigestでエントリを追加する必要があります。
$ sudo htdigest /etc/apache2/.htdigest "gerrit" ${USER}
Adding user hiroom2 in realm gerrit
New password:
Re-type new password:
追加したユーザでDigest認証を実施します。
ユーザのプロファイルページが表示されます。
git-reviewやSSH経由のgit cloneで使うSSH公開鍵を登録します。emailは~/.gitconfigに記載されたものを登録します。