This article will describe installing KVM.
Table of Contents
1 Install qemu-kvm and libvirt
Install qemu-kvm package and some packages for virtual machine operation.
$ sudo apt install -y qemu-kvm libvirt0 libvirt-bin \
  virt-manager libguestfs-tools
2 Bridge interface
The bridge interface is needed for accessing virtual machine via network from other machine.
3 libvirt group
The user in libvirt group can run virt-manager and virsh without sudo.
$ sudo gpasswd libvirt -a <username>
$ sudo reboot
4 Remote access via SSH
virt-manager and virsh provdes remote access via SSH. If you uses SSH public key authentication, you can omit inputing password.
Create SSH keys on client which uses remote access via SSH.
$ ssh-keygen -t rsa -f ~/.ssh/id_rsa -N ""
Generating public/private rsa key pair.
Your identification has been saved in /home/hiroom2/.ssh/id_rsa.
Your public key has been saved in /home/hiroom2/.ssh/id_rsa.pub.
<snip>
$ cat ~/.ssh/id_rsa.pub
ssh-rsa AAAAB... username@clientname
Add SSH public key entry to ~/.ssh/authorized_keys on server which is installed KVM.
$ cat ~/.ssh/authorized_keys
ssh-rsa AAAAB... username@clientname
Specify server URI with -c option on client.
$ virsh -c qemu+ssh://username@servername/system
Setting server URI to VIRSH_DEFAULT_CONNECT_URI is equal with specifying server URI with -c option. Write VIRSH_DEFAULT_CONNECT_URI settings in your .bashrc if you need.
$ export VIRSH_DEFAULT_CONNECT_URI=qemu+ssh://username@servername/system
$ virsh
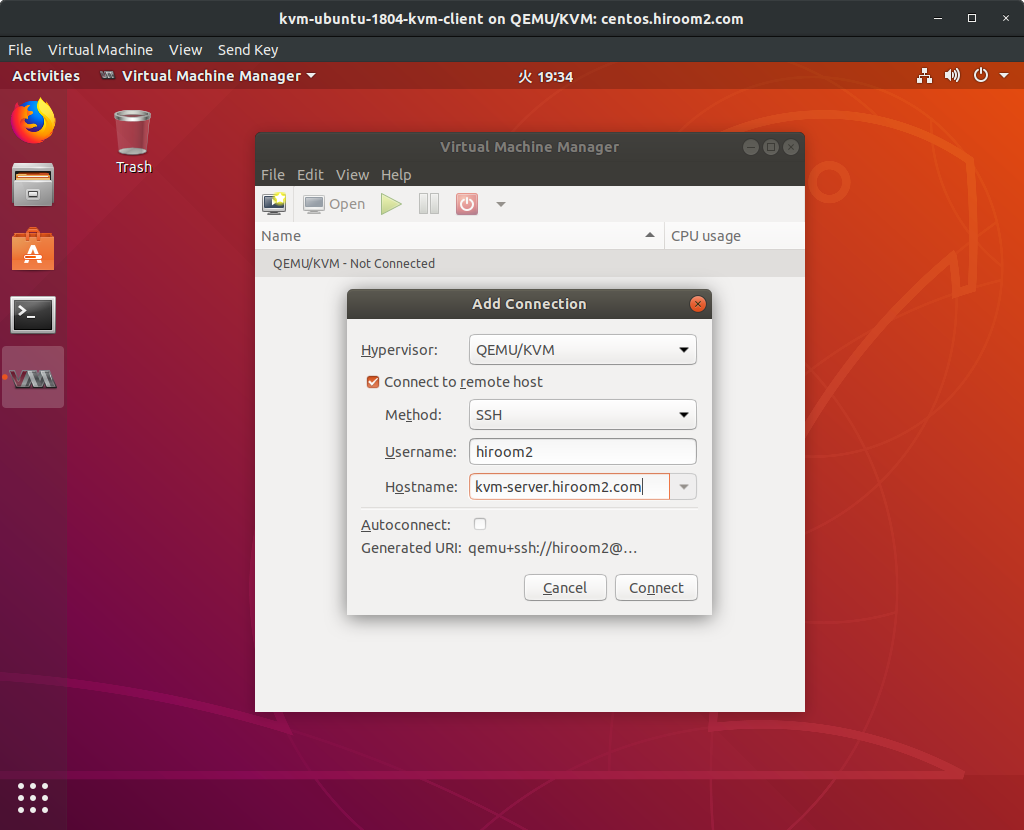
In case of virt-manager, click "Add Connections" and specify server.
File -> Add Connection
5 Add a pool for ISO file
Download ubuntu-18.04-desktop-amd64.iso from this page and add a pool for ISO file at /var/lib/libvirt/isos.
$ wget http://releases.ubuntu.com/18.04/ubuntu-18.04-desktop-amd64.iso
$ sudo mkdir /var/lib/libvirt/isos
$ sudo mv ubuntu-18.04-desktop-amd64.iso /var/lib/libvirt/isos/
$ sudo chown libvirt-qemu:libvirt \
/var/lib/libvirt/isos/ubuntu-18.04-desktop-amd64.iso
In case of virsh, use the following command.
$ virsh pool-define-as isos dir - - - - /var/lib/libvirt/isos
$ virsh pool-autostart isos
$ virsh pool-start isos
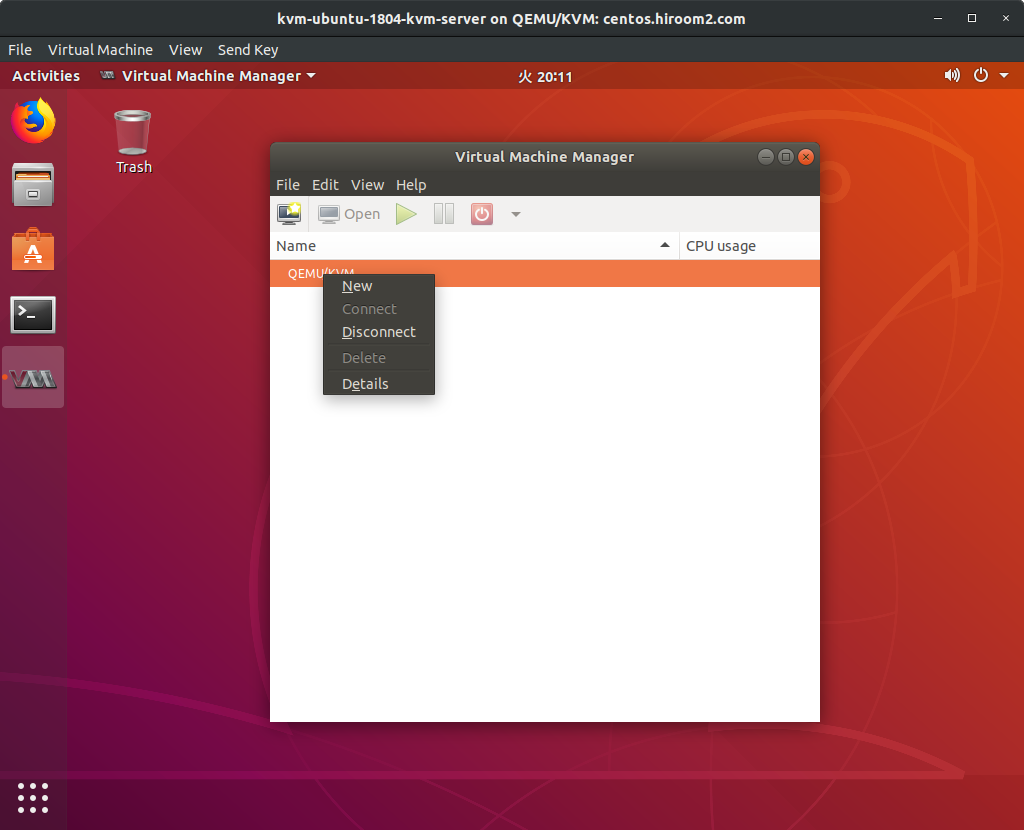
In case of virt-manager, left click on "QEMU/KVM" and right click on "Details".
$ virt-manager
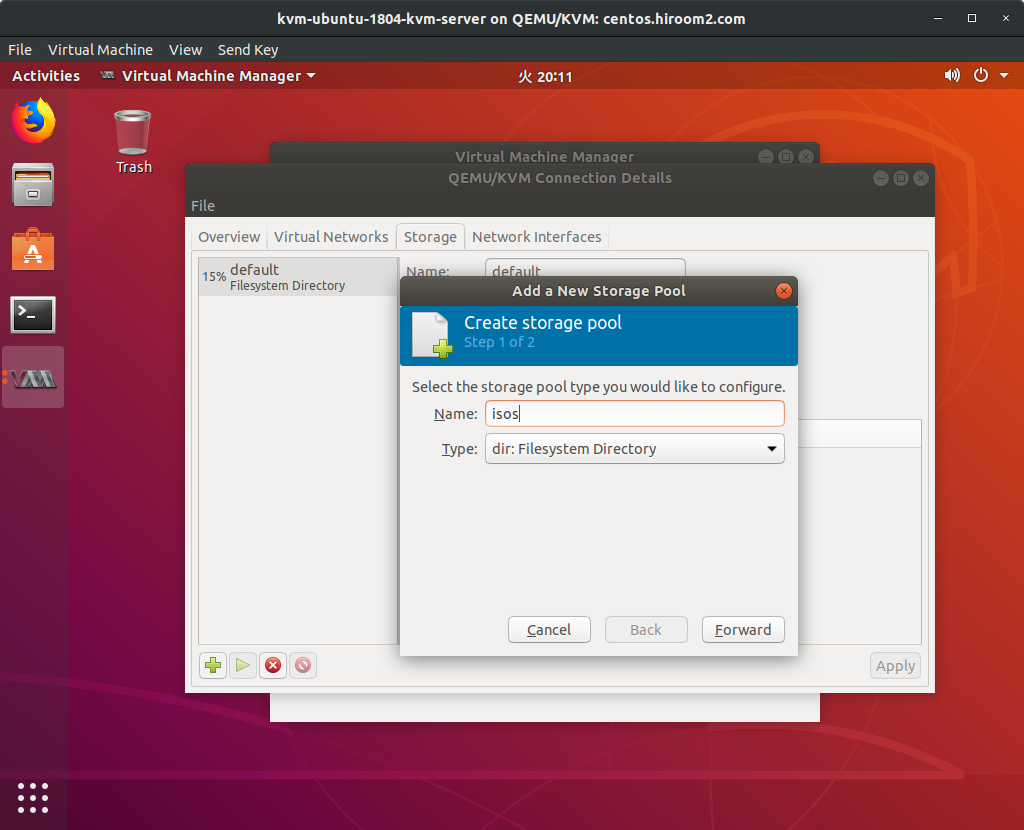
Add a pool with pressing "+" button at the below left. Input "Name" and select "dri:Filesystem Directory" at "Type".
Input "/var/lib/libvirt/isos" at "Target Path".

The pool for ISO file is added.

6 Create virtual machine with virt-manager
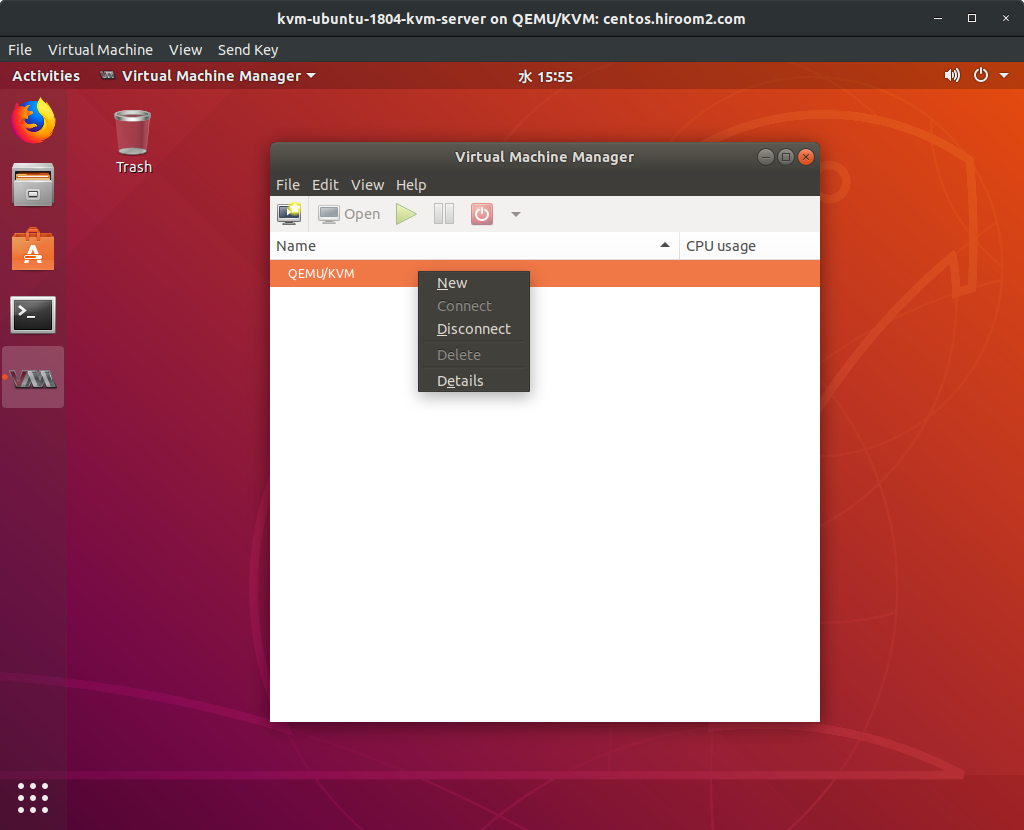
Left click on "QEMU/KVM" and right click "New".
$ virt-manager
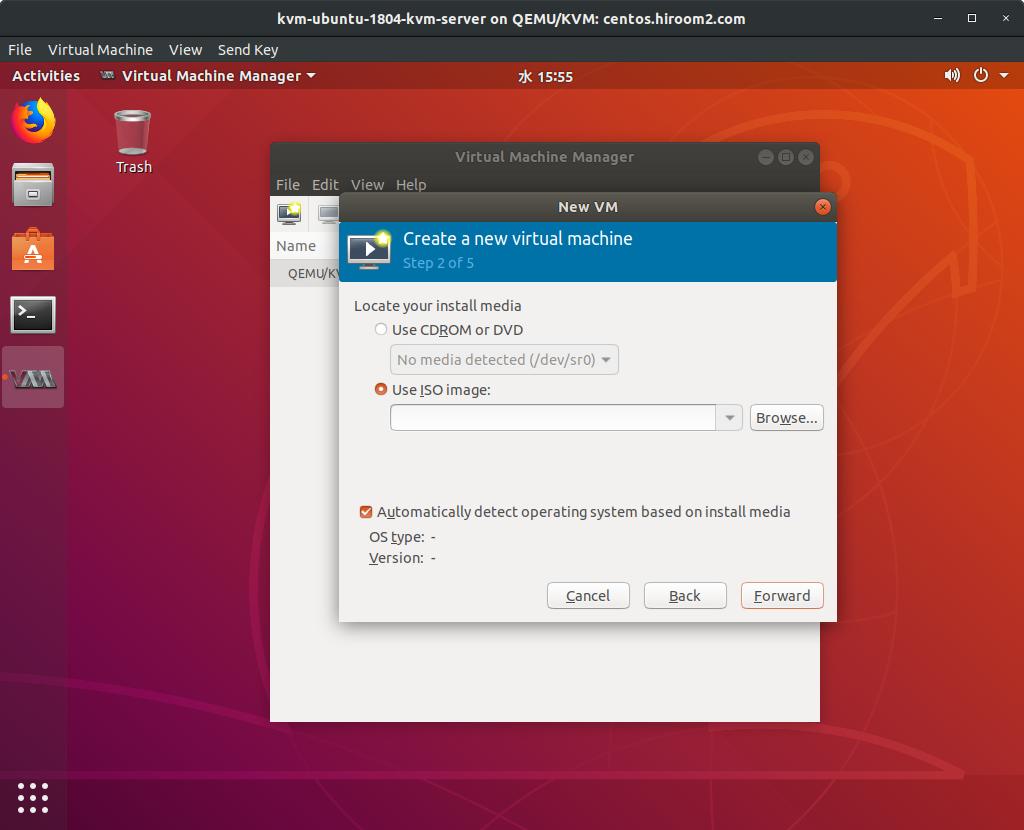
Select "Local install media" and click "Forward".

Select "Use ISO image" and click "Browse".
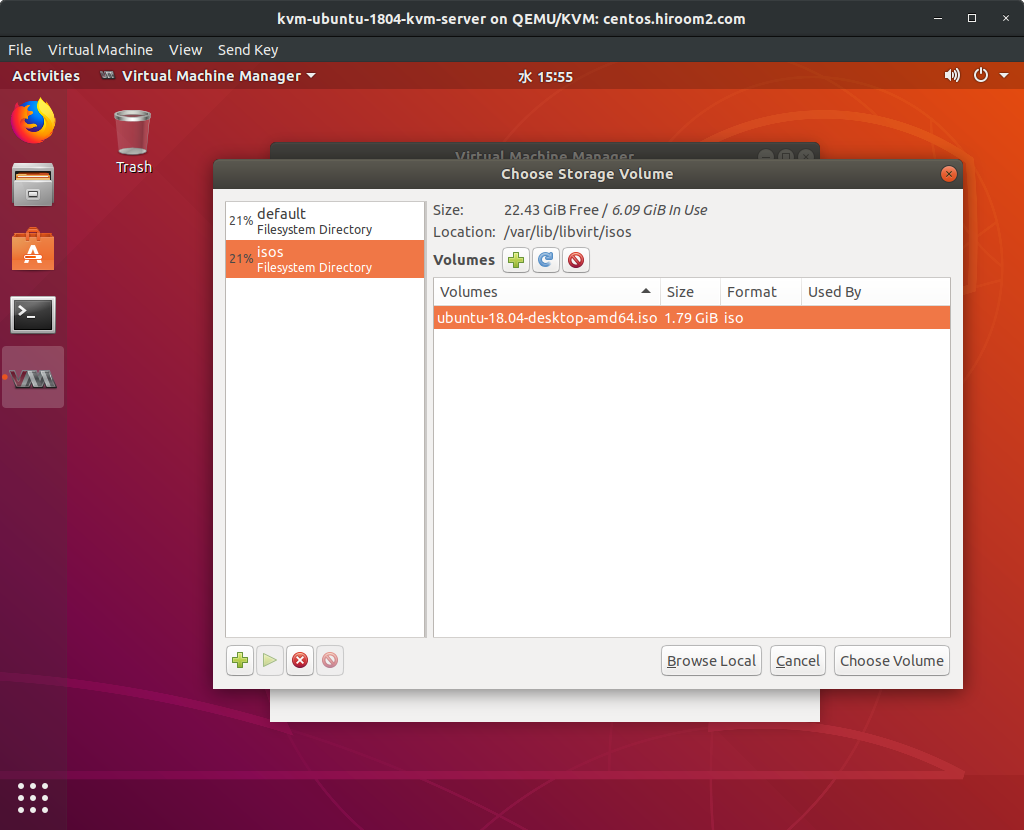
Select ISO file in "isos" pool and click "Choose Volume".
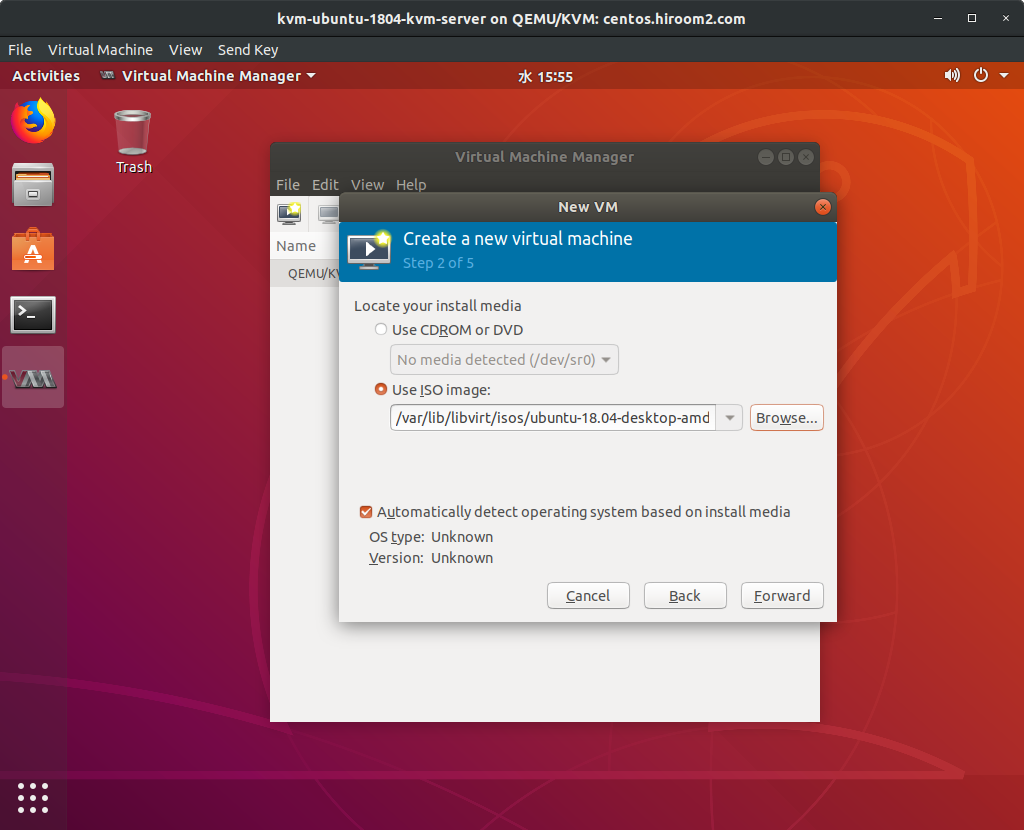
ISO file is selected.
If "OS type" and "Version" is Unknown, select these manually. In case of Ubuntu 18.04, select Linux as "OS type" and nearest version of Ubuntu as "Version"
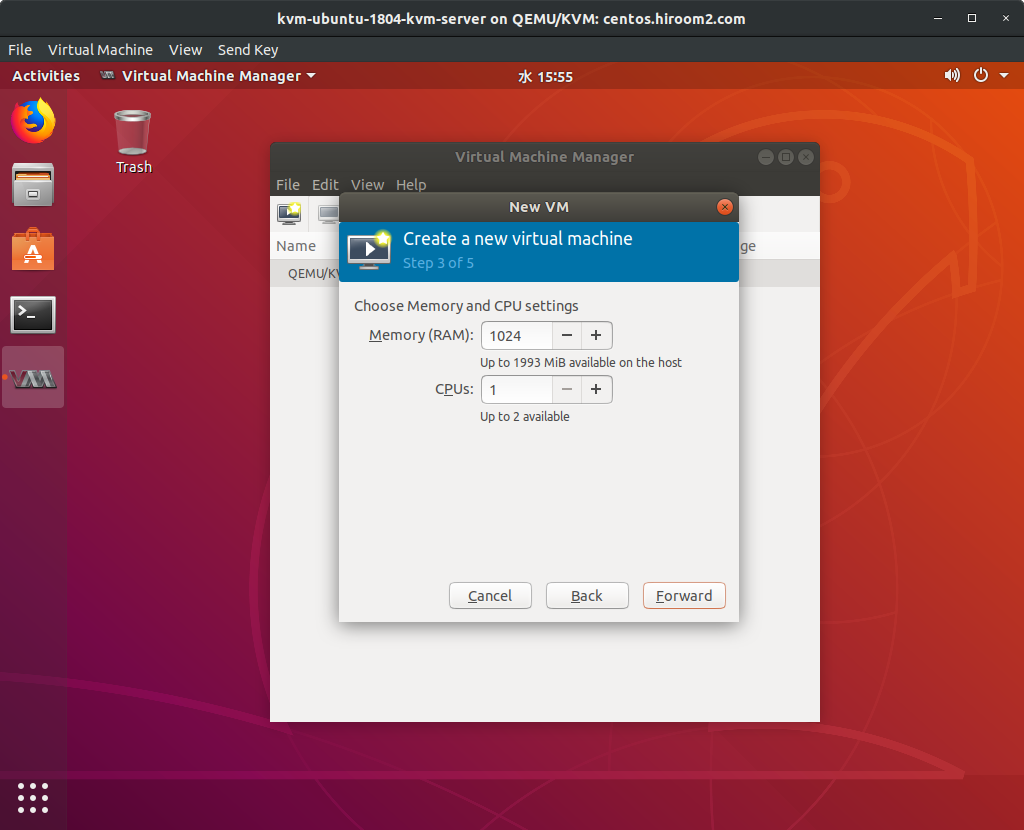
Input memory size and CPU number.
Create storage. By default, storage will be created at /var/lib/libvirt/images directory which is "default" pool.

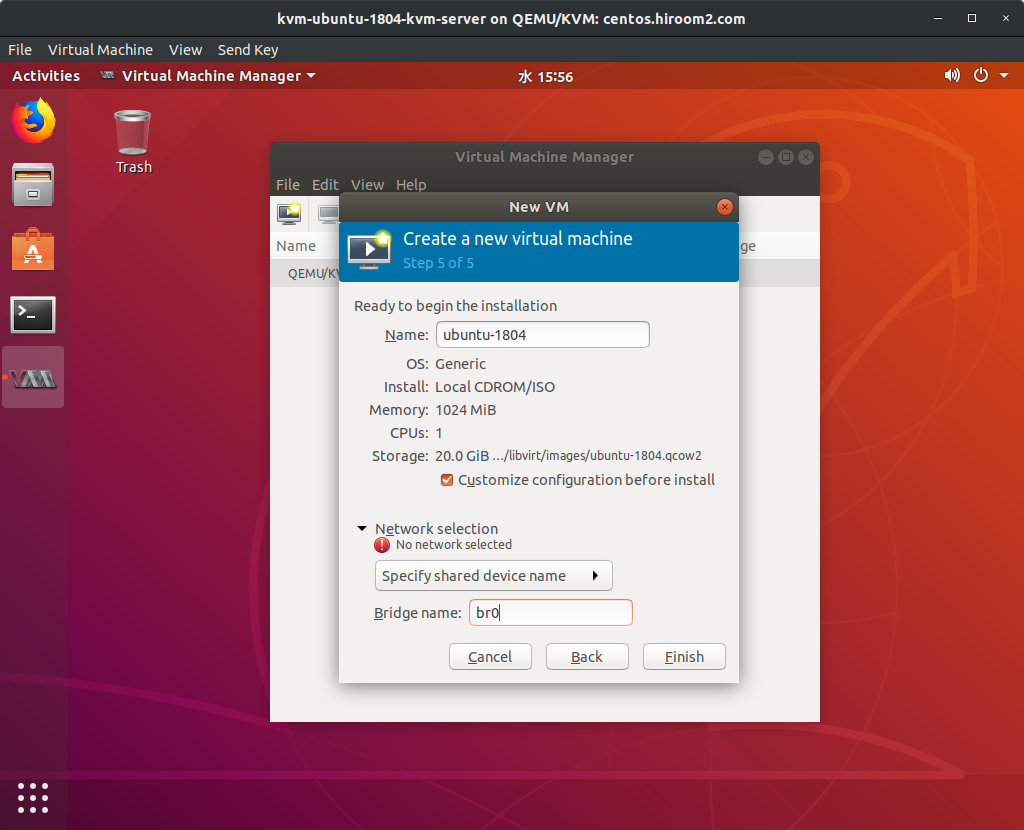
Input virtual machine name.
Check "Customize configuration before install" for changing keyboard layout and storage type.
Select network. If you create bridge interface with nmcli or systemd-networkd, virt-manager does not display bridge interface. But you can use bridge interface with "Specify shared device name".
Select "IDE Disk1". Set "VirtIO" as "Disk bus".

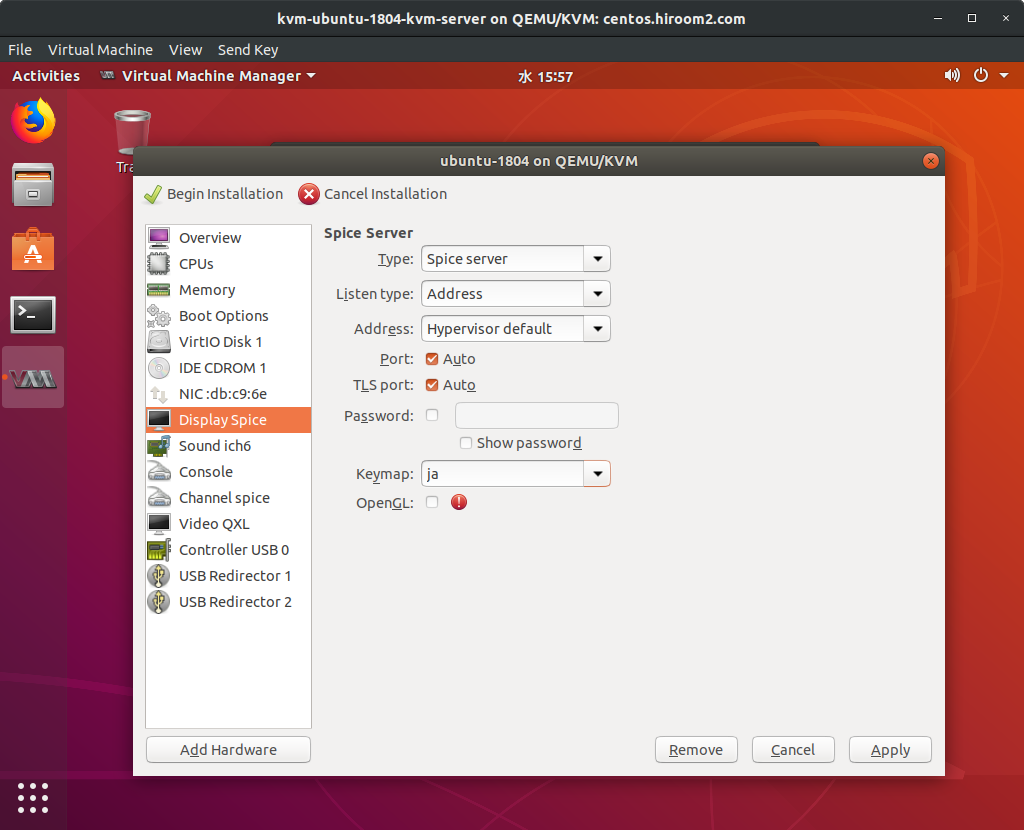
Select "Display Spice". Set your keyboard layout as "Keymap". In case of Japanese, keyboard layout is "ja".
Select "NIC". You can modify MAC address at this stage.
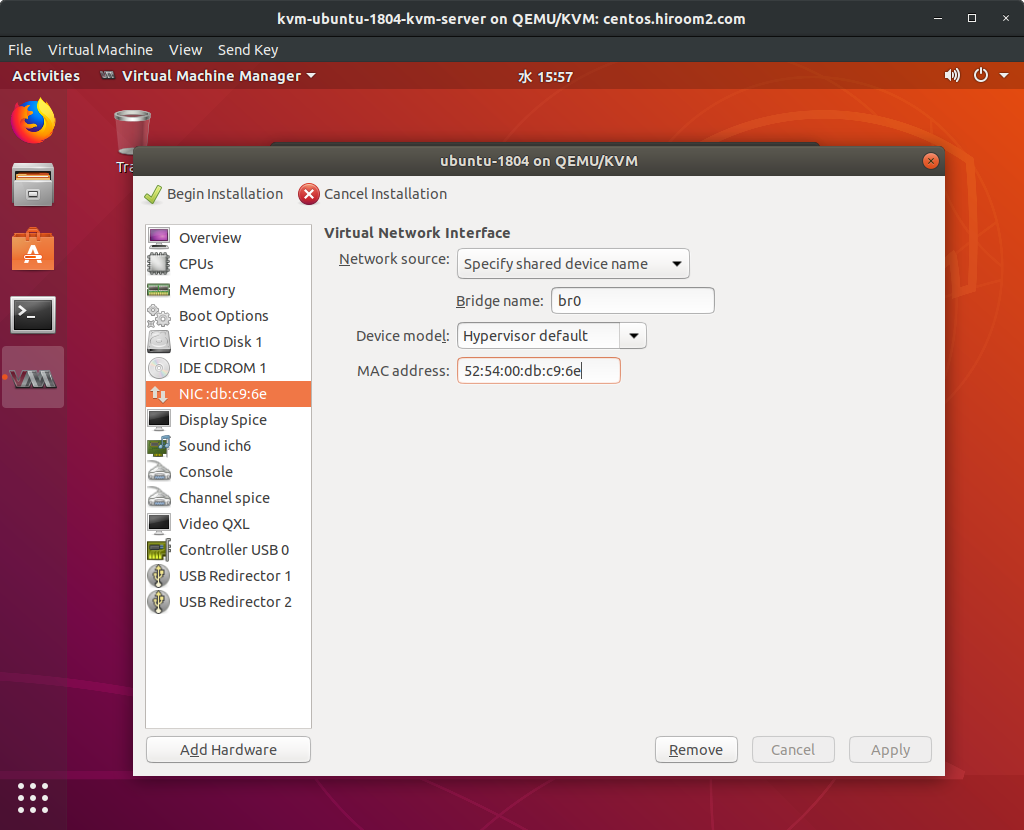
Clicking "Begin Installation" starts installation. Install OS with the same way as physical machine.