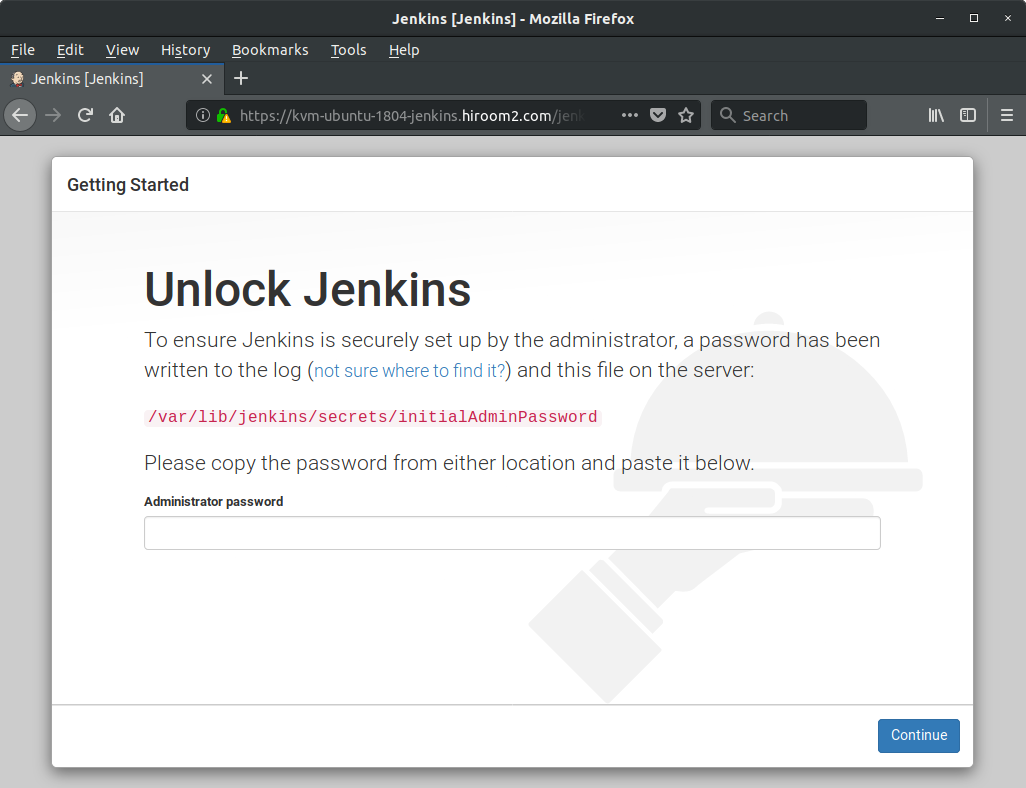
This article will describe installing Jenkins running on apache2.
Table of Contents
1 Install Jenkins
The following script will install Jenkins and enable http access via Apache.
#!/bin/sh

jenkins_install()
{
  wget -q -O - http://pkg.jenkins-ci.org/debian-stable/jenkins-ci.org.key | \
    sudo apt-key add -
  echo deb http://pkg.jenkins-ci.org/debian-stable binary/ | \
    sudo tee /etc/apt/sources.list.d/jenkins.list
  sudo apt update -y

  sudo apt install -y openjdk-8-jdk
  sudo apt install -y jenkins

  cat <<EOF | sudo tee -a /etc/default/jenkins
JENKINS_ARGS="\$JENKINS_ARGS --prefix=\$PREFIX"
EOF

  sudo service jenkins restart
}

apache_install()
{
  sudo apt install -y apache2

  cat << EOF | sudo tee /etc/apache2/conf-available/jenkins.conf
ProxyRequests     Off
ProxyPreserveHost On
ProxyPass         /jenkins http://localhost:8080/jenkins
ProxyPassReverse  /jenkins http://localhost:8080/jenkins

RequestHeader set X-Forwarded-Proto "https"
RequestHeader set X-Forwarded-Port "443"
AllowEncodedSlashes NoDecode

<Proxy http://localhost:8080/jenkins>
  Order deny,allow
  Allow from all
</Proxy>
EOF

  for mod in ssl proxy proxy_http headers; do
    sudo a2enmod ${mod}
  done
  sudo a2enconf jenkins
  sudo a2ensite default-ssl.conf
  sudo service apache2 restart
}

jenkins_main()
{
  jenkins_install
  apache_install
}

jenkins_main
2 Access to Jenkins
Access to the following URL.
https://<server>/jenkins
