This article will describe virus scan with ClamAV.
Table of Contents
1 Install ClamAV
Install clamav.
$ sudo pacman -Sy --noconfirm clamav
2 Update virus database with freshclam manually
The freshclam will update virus database.
$ sudo freshclam
3 Update virus database with freshclamd
freshclamd will update virus database automatically. You do not need to run freshclam manually.
$ sudo systemctl enable freshclamd
$ sudo systemctl start freshclamd
4 Virus scan with clamscan
The clamscan will scan file or directory.
- -r option will scan directory recursively.
- -i option will show detected file only.
- –move option will move detected file to specific directory.
$ mkdir ~/virus
$ clamscan -r -i --move=$HOME/virus .
5 Virus scan with clamdscan
The clamd load database once and wait as a daemon. And run virus scan by request from clamdscan without loading database.
clamd always consume memory for database, but clamdscan is faster than clamscan. And clamdscan's behavior depends on clamd while clamscan's behavior depends clamscan's options.
$ sudo systemctl enable clamd
$ sudo systemctl start clamd
$ clamdscan <dir>
6 Virus scan with clamtk
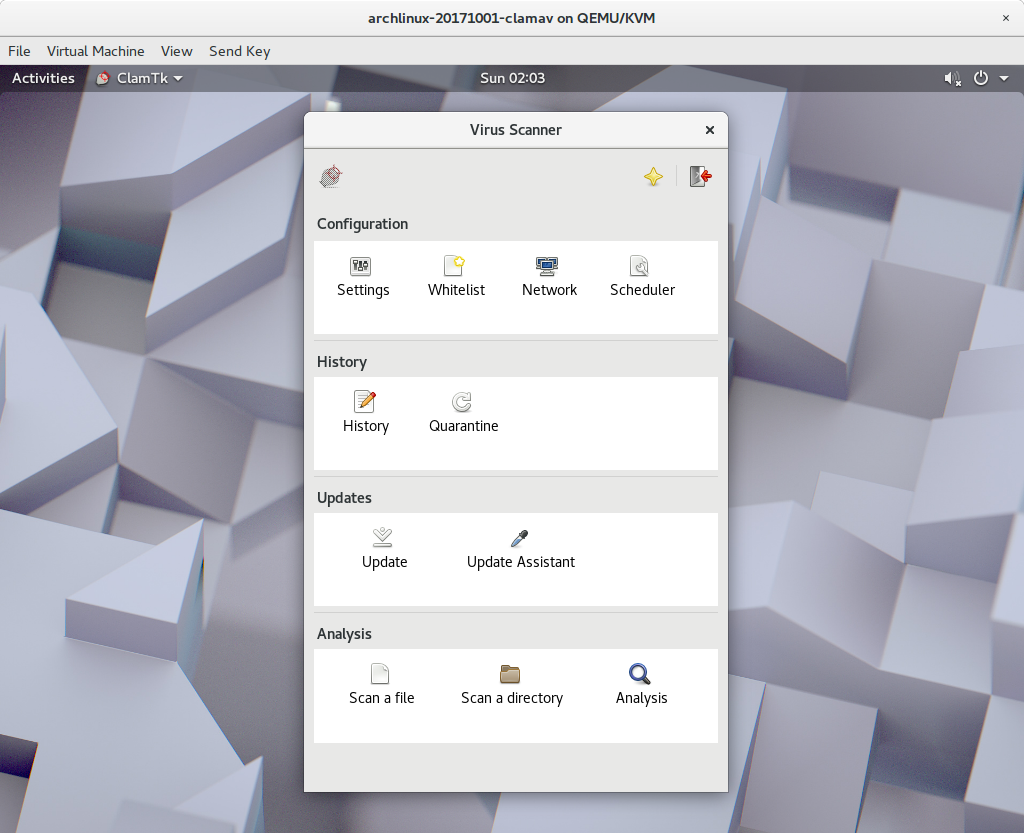
clamtk provides GUI window, This is useful for desktop user.
$ sudo pacman -Sy --noconfirm clamtk
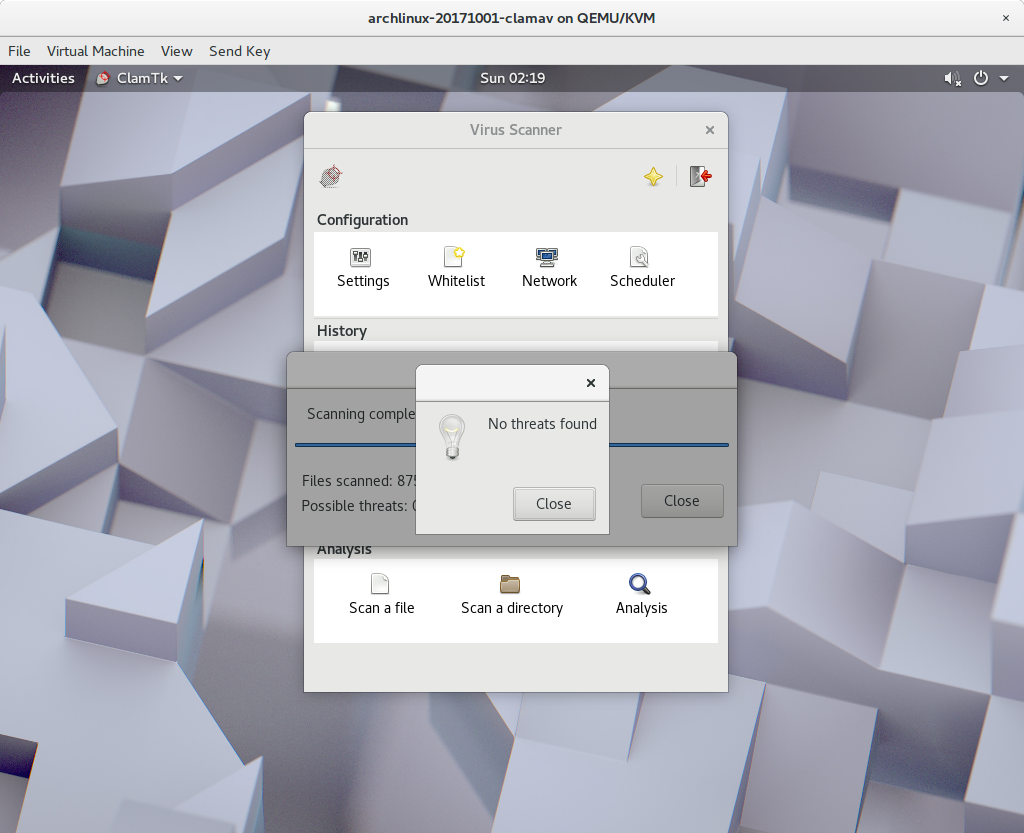
clamtk is as the following. My environment needs double click to select item.
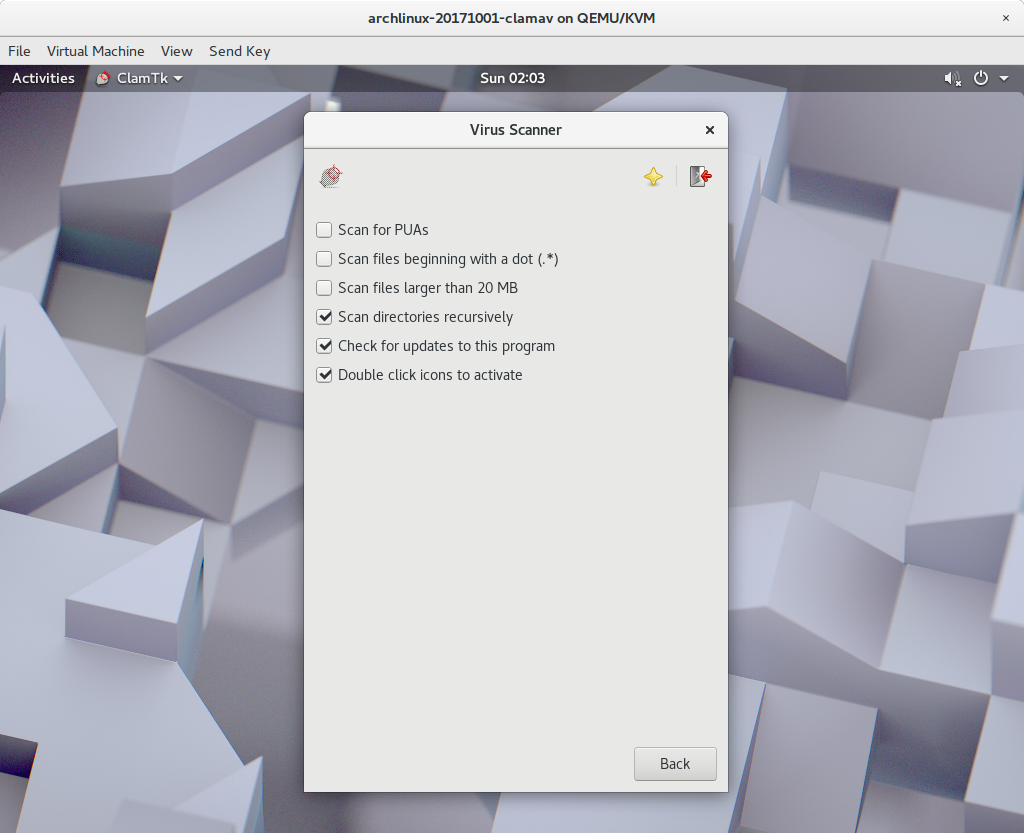
Check "scan directories recursively" in Settings.
Home directory can be scanned recursively by "Scan a directory".