This article will describe installing KaliLinux 2017.1.
Table of Contents
1 Install KaliLinux 2017.1
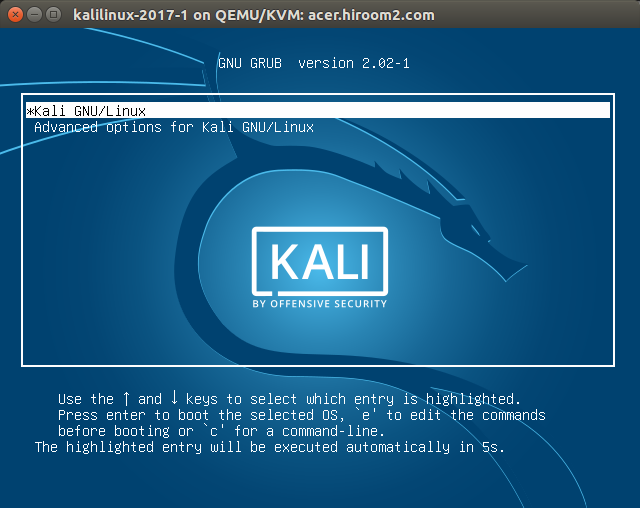
Download kali-linux-2017.1-amd64.iso and run it.
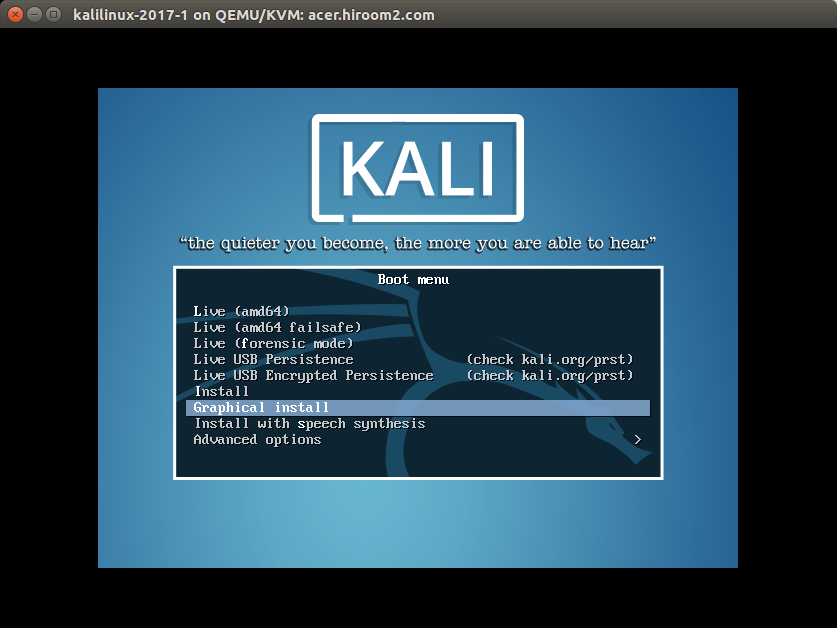
GRUB menu is displayed. Select "Graphical Install".
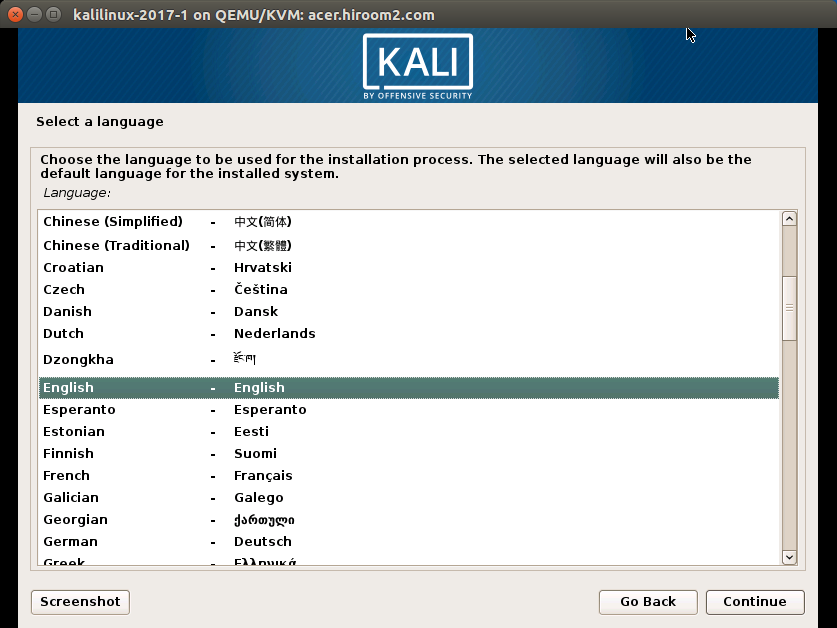
Select language. This article selects English.
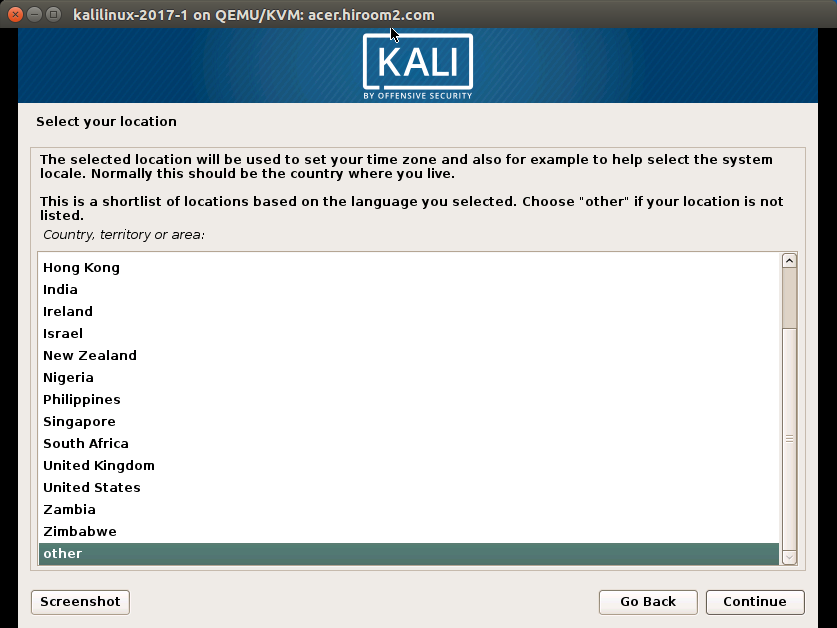
Select location. Displayed location is based on selected language. When selecting "other", all location will be displayed. This article selected "other", "Asia" and "Japan".
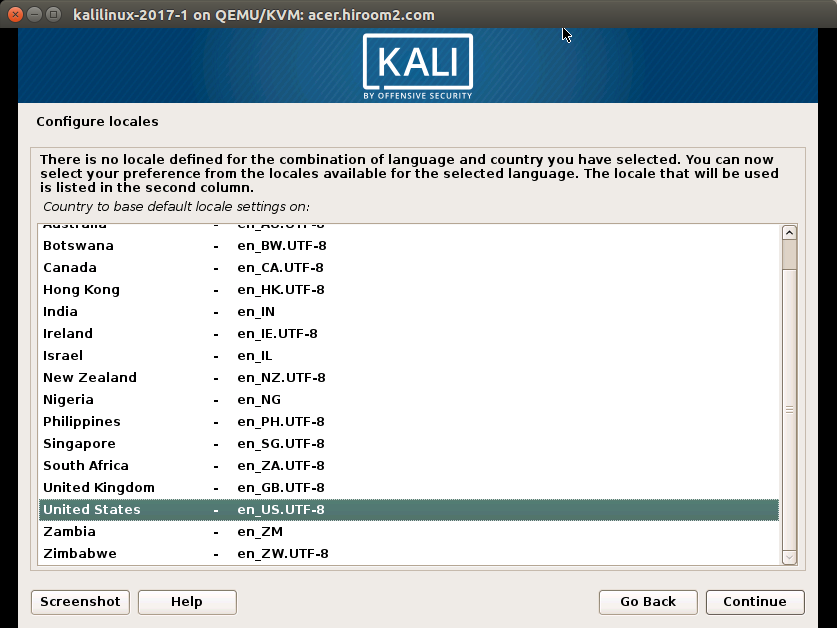
If combination of language and location is undefined like combination of "English" and "Japan", you need to select locale. This article selected en_US.UTF-8.
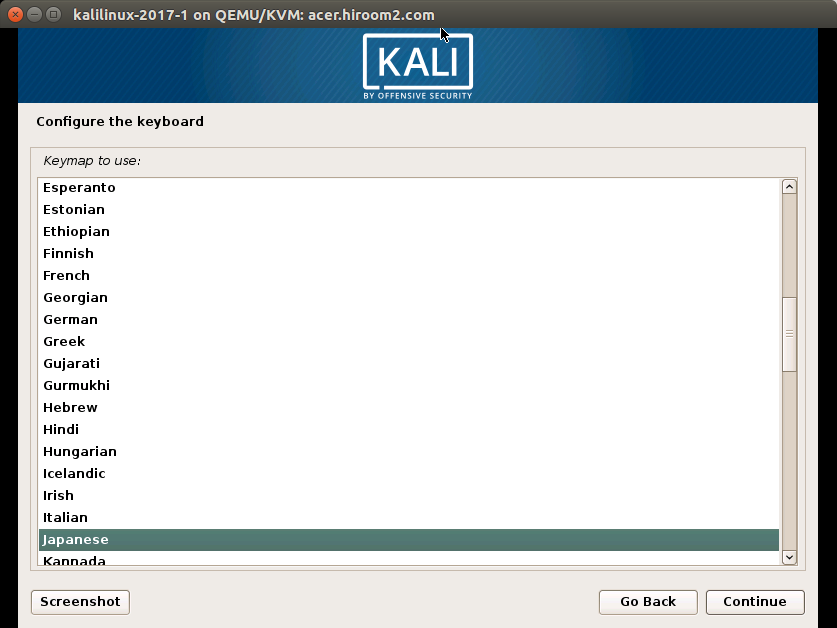
Select keyboard.
Input hostname.

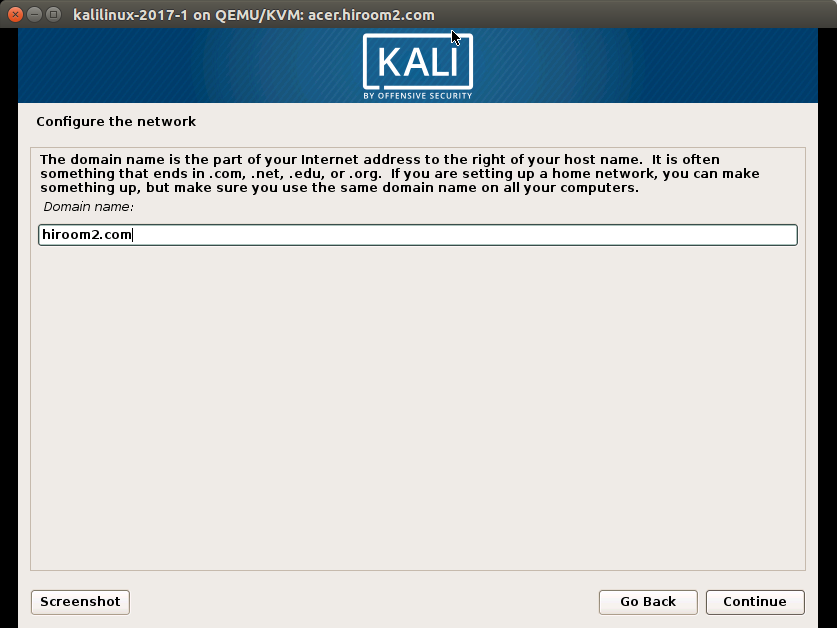
Input domain name. This can be empty.
Setting of root password is displayed. If root password is empty, you cannot switch to root with root password. But sudo package will be installed and you can switch to root with "sudo su -". This is the same with Ubuntu. This article did not set root password.

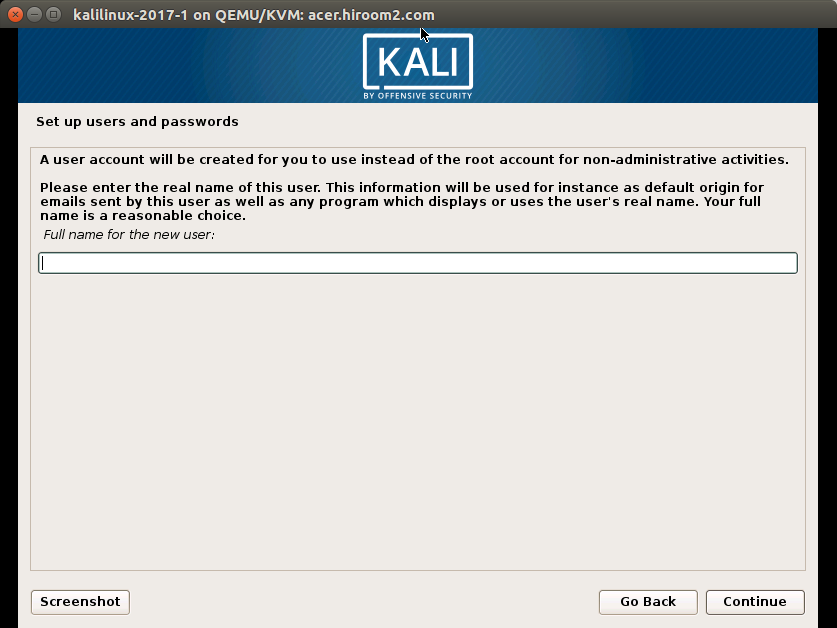
Input user full name. This can be empty.
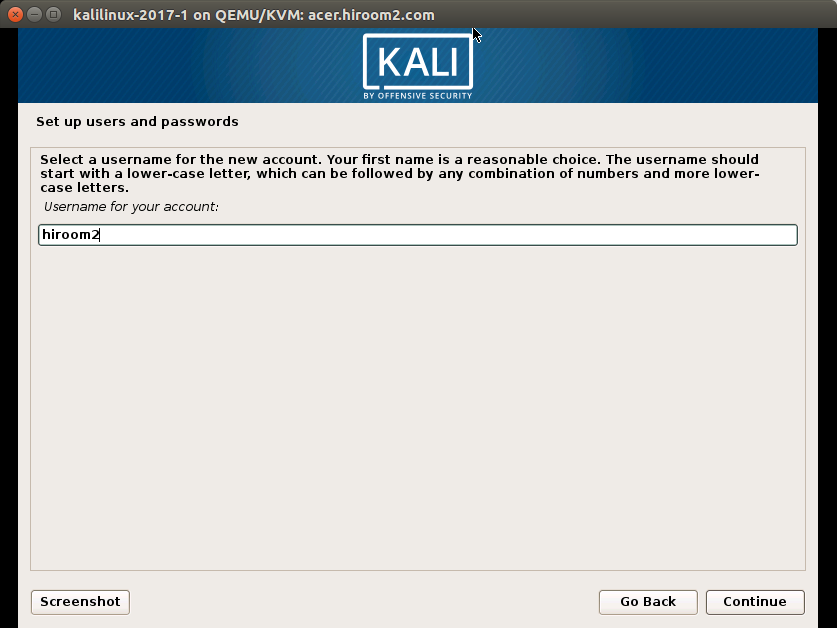
Input user name.
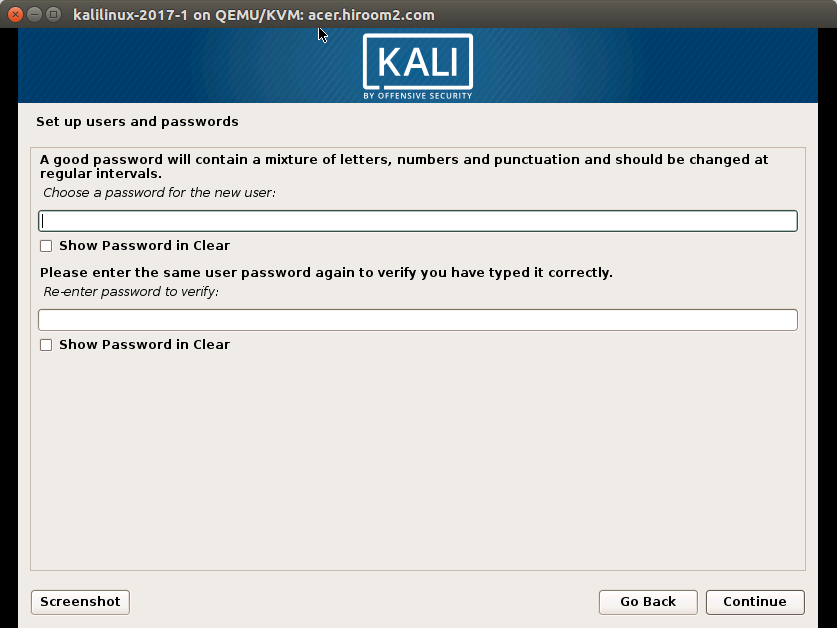
Input user password twice.
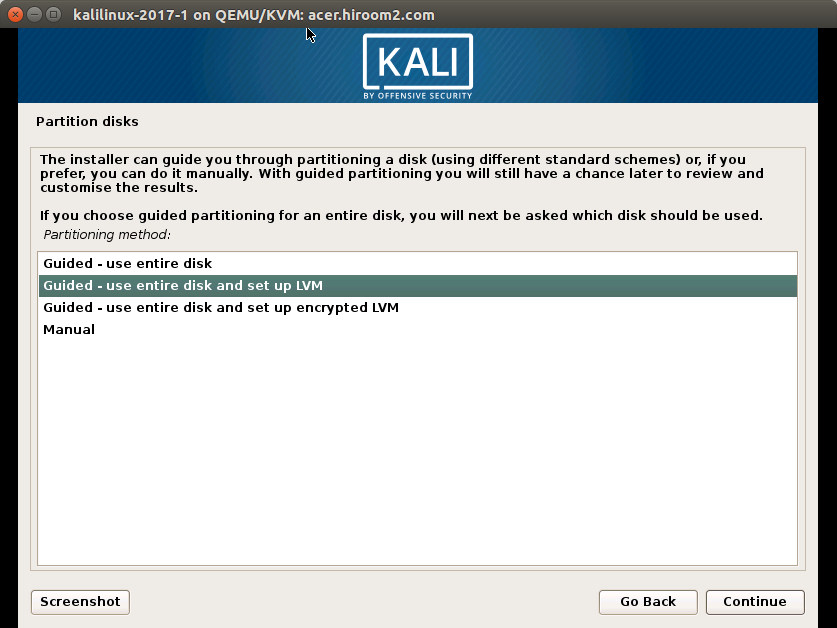
Select a way of partition disk. This article selected "Guided - use entire disk and set up LVM".
Select a disk to be installed.

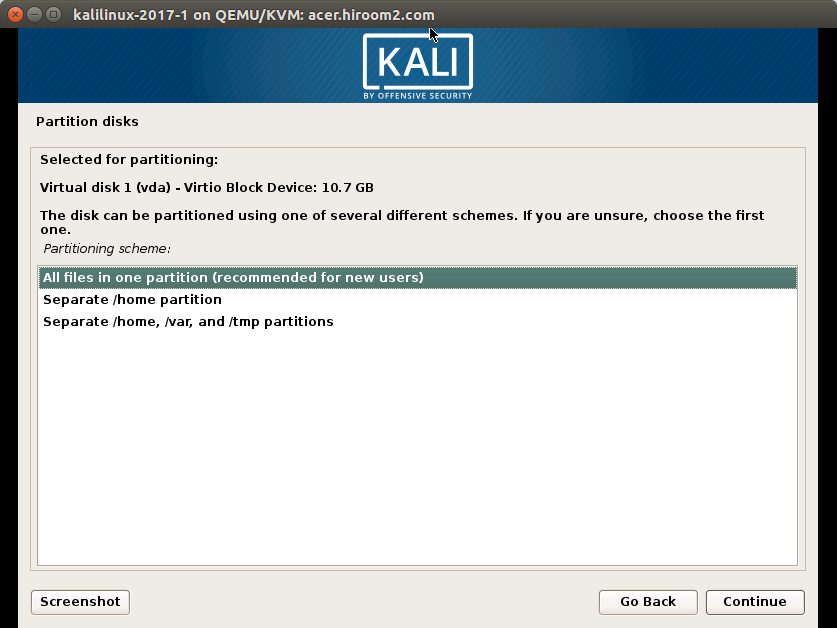
Select a way of separating partition. This article selected "All files in one partition (recommended for new users)".
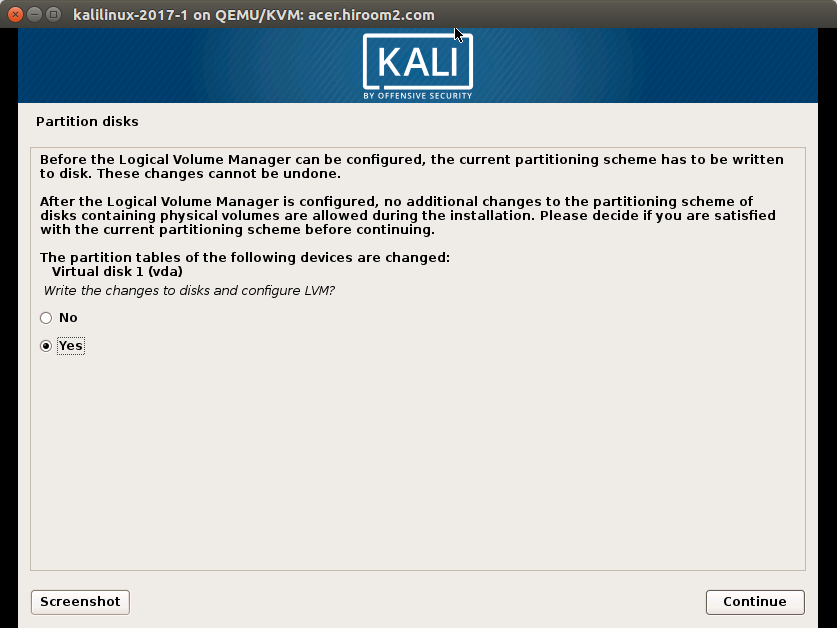
Confirmation for writing LVM to disk is displayed. Selecting "Yes" will write to disk.
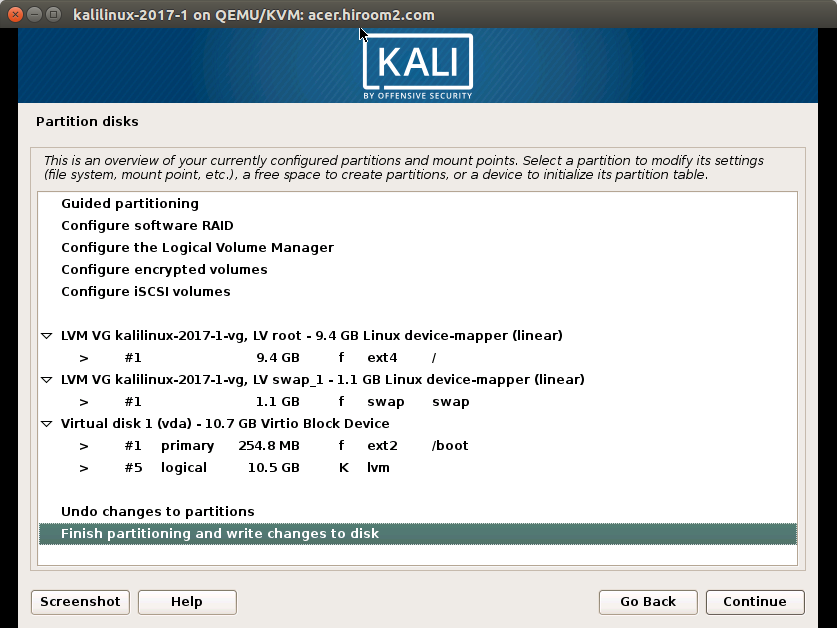
Confirmation for separating partition is displayed. If you do not modify separating partition, select"Finish partitioning and write to disk".
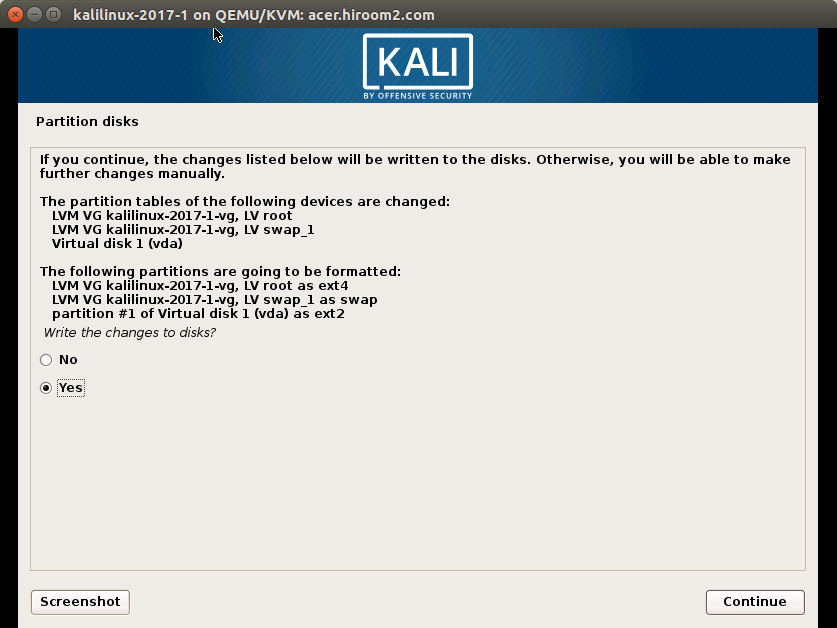
Confirmation for writing partition table to disk is displayed. Selecting "Yes" will write to disk.
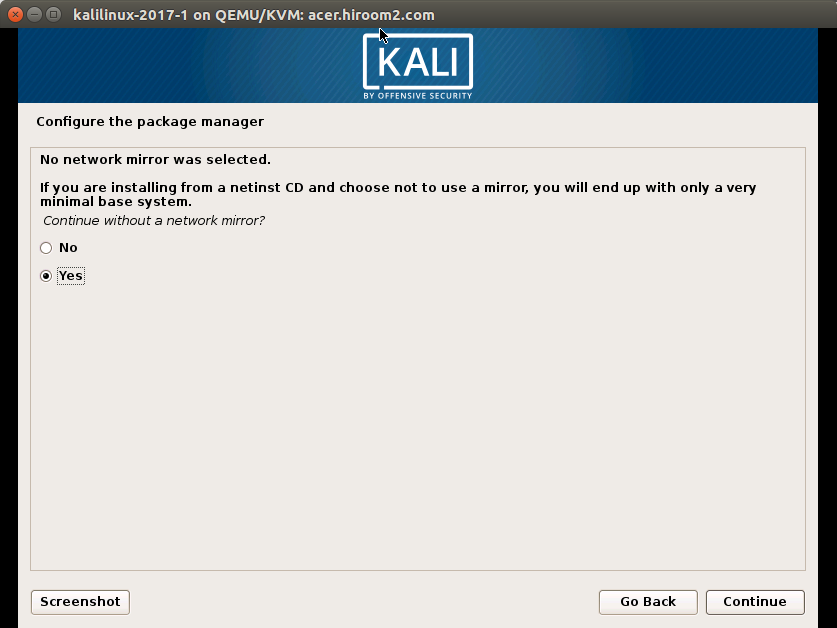
Select yes to use mirror server for installation.
Input proxy URL. This can be empty. If your company needs proxy for accessing internet, input proxy URL.

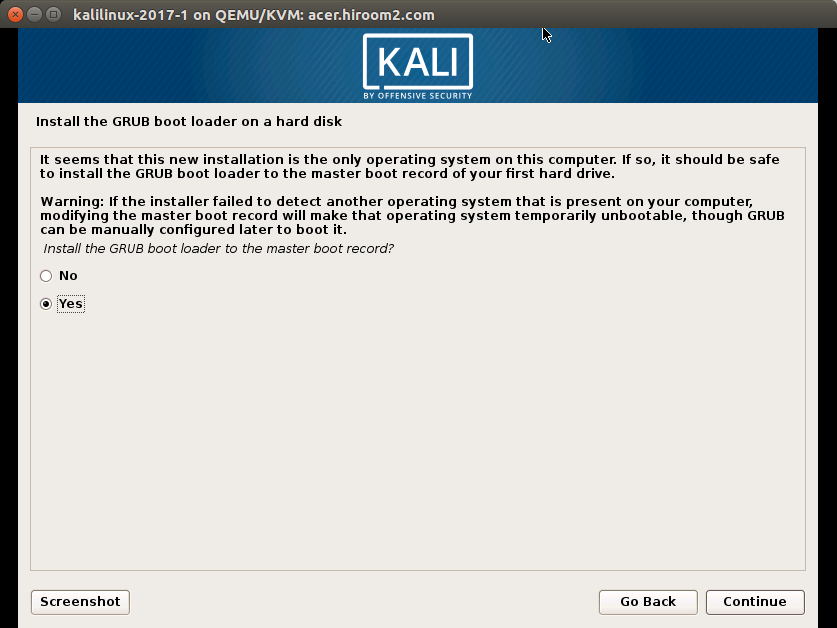
Confirmation for installing GRUB is displayed. Selecting "Yes" will install GRUB.
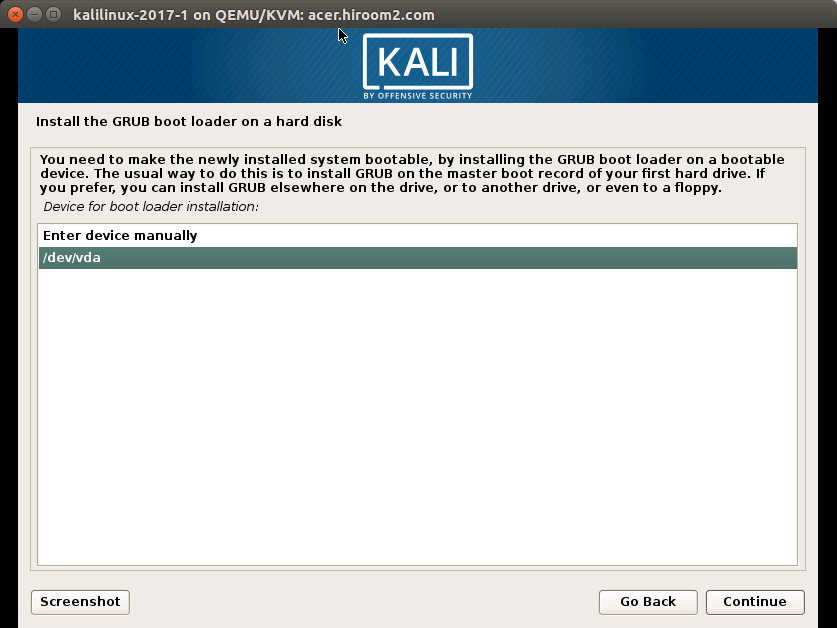
Select device to install GRUB.
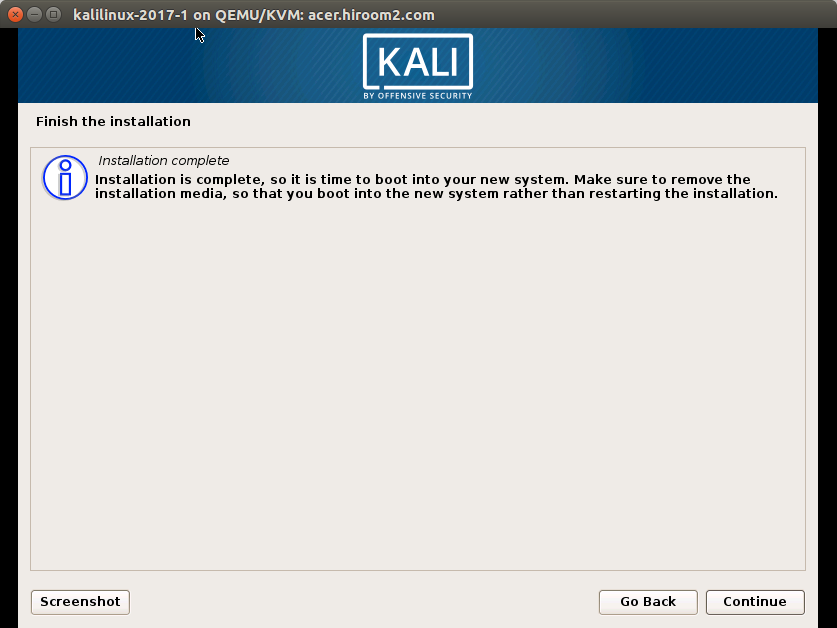
KaliLinux installation is completed.
After reboot, KaliLinux will start.