This article will describe creating image from video with cvlc command which is included in VLC package.
Table of Contents
1 Install VLC package
The following is in Ubuntu 16.04.
$ sudo apt install -y vlc
2 Create image from video with cvlc
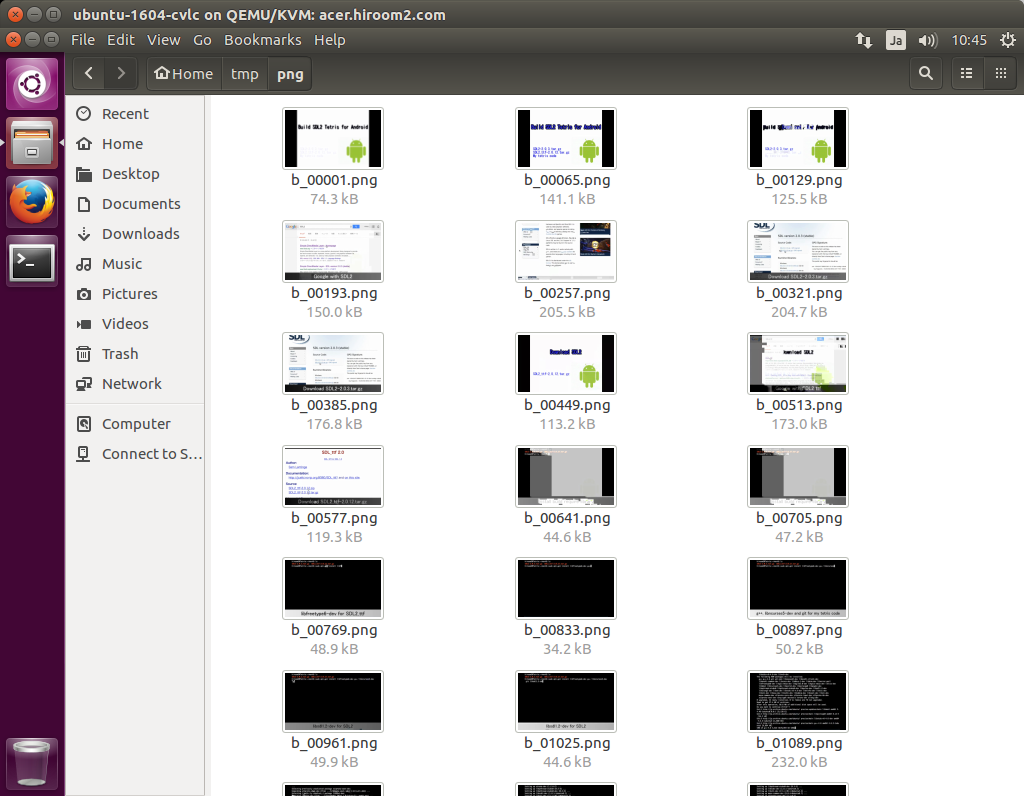
The cvlc command is CUI tool. The following will create images from the top of video to the end of video for each 64 frame.
$ mkdir png
$ cvlc a.mp4 \
  --rate=1 \
  --start-time=0 \
  --scene-ratio=64 \
  --scene-prefix=b_ \
  --scene-path=png \
  --scene-format=png \
  --video-filter=scene \
  --vout=dummy \
  --no-audio \
  vlc://quit
- –rate is play speed. Decreasing this value will decode the movie accurately but make play speed be slow. Increasing this value will cause block noise.
- –start-time is start time to play. –stop-time is stop time to play. –run-time is the difference between –start-time and –stop-time. These values are seconds.
- –scene-ratio is the interval to create image. This value is frames.
- –scene-prefix is prefix of image name.
- –scene-path is directory to store image.
2.1 Create one image
For creating one image, make –scene-ratio be bigger than frames of 1 second (This article uses max value of –scene-ration), and make the difference between –start-time and –stop-time be 1 second.
But VLC 2.2.2 in Ubuntu 16.04 has a issue with –start-time which does not apply to the first image (The first image is always the top of video). So make –scene-ratio be smaller than frames of 1 second and bigger than half of frames of 1 second. And then create two images and destroy the first image. VLC 3.0.0 does not have this issue.
$ cvlc a.mp4 \
     --scene-ratio=2147483647 \
     --start-time=100 \
     --run-time=1 \
     --scene-prefix=oneshot_ \
     --scene-path=. \
     --scene-format=png \
     --rate=1 \
     --video-filter=scene \
     --vout=dummy \
     --no-audio \
     vlc://quit