This article will describe installing didiwiki which is a lightweight wiki tool for personal user. This might be not for multiple user.
Table of Contents
1 Install didiwiki
Install didiwiki with apt.
$ sudo apt install -y didiwiki
2 Run didiwiki
There are two ways for running didiwiki.
2.1 Run didiwiki with /etc/init.d/didiwiki
Enable didiwiki with systemctl.
$ sudo systemctl enable didiwiki
$ sudo systemctl start didiwiki
This will use /etc/default/didiwiki for configuration.
- This listens 127.0.0.1 and allow access only from local machine by default.
- The wiki data will stored at /var/lib/didiwiki by default.
- This will use 8000/tcp and cannot change it.
2.2 Run didiwiki with didiwiki command
You can run didiwiki with didiwiki command.
$ didiwkil [-l <addr>] [-p <port>] [-h <dir>]
- -l option set listen address. Without -l option listens all network interface.
- -h opsion set directory of wiki data. Without -h option stores wiki data to ${HOME}/.didiwiki.
- -p option set TCP port. Without -p option uses 8000/tcp.
3 Wiki page format
The didiwiki uses below string for wiki page format.
| ==<string> | Title |
| /!<string> / | Italic |
| [<url> <string>] | URL link |
| * <string> | Bullet |
Access following URL.
http://<server>:8000
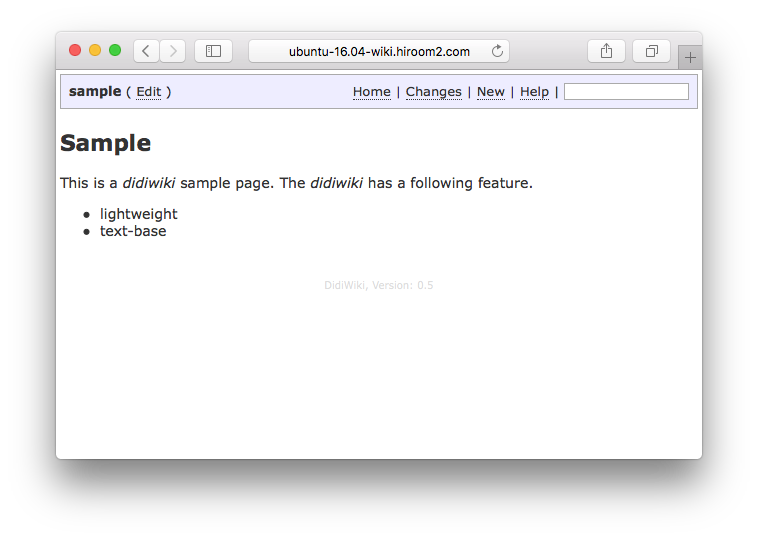
Create following sample page from "New" menu.
$ cat .didiwiki/sample
== Sample
This is a /!didiwiki / sample page.
The /!didiwiki / has a following feature.
* lightweight
* text-base
The sample page will be displayed as below.