This article will describe installing tigervncserver and connecting to GNOME3 desktop with VNC and XRDP.
Table of Contents
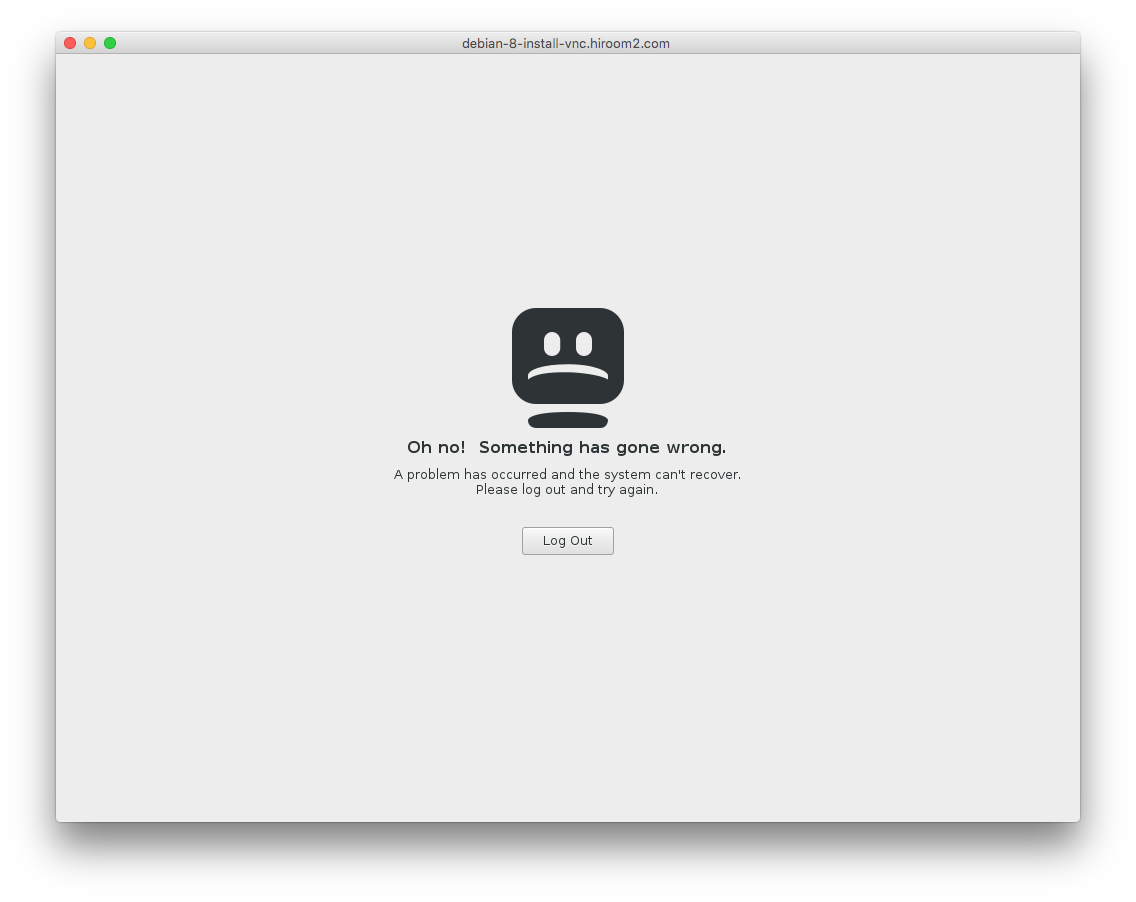
1 GNOME3 and tightvncserver cause error
GNOME3 and tightvncserver will cause error as below and cannot connect.
2 Preparation
Remove vnc4server and tightvncserver.
You can also switch vncserver to tigervncserver with update-alternatives command.
$ sudo apt remove -y vnc4server tightvncserver
Install git and devscripts.
$ sudo apt install -y git devscripts
3 Install libfltk
A libfltk in Debian 8 is a little old and tigervncviewer will be compile error.
This article will port liblftk in Ubuntu 16.04 to Debian 8.
Install packages for building libfltk.
$ sudo apt-get build-dep -y libfltk1.3
$ sudo apt install -y cmake
Download libfltk in Ubuntu 16.04.
$ mkdir fltk
$ cd fltk
$ URL=http://archive.ubuntu.com/ubuntu/pool/universe/f/
$ wget ${URL}/fltk1.3/fltk1.3_1.3.3.orig.tar.gz
$ wget ${URL}/fltk1.3/fltk1.3_1.3.3-8.dsc
$ wget ${URL}/fltk1.3/fltk1.3_1.3.3-8.debian.tar.xz
$ tar zxvf fltk1.3_1.3.3.orig.tar.gz
$ cd fltk-1.3.3/
$ tar xvf ../fltk1.3_1.3.3-8.debian.tar.xz
Build libfltk.
$ dpkg-buildpackage -us -uc
Install deb files while installing depend package with running "apt -f install".
$ cd ..
$ sudo dpkg -i *.deb || (sudo apt -f install -y ; sudo dpkg -i *.deb)
$ cd ..
4 Install tigervncserver
tigervnc repository already has a devscripts files for Ubuntu 16.04.
This article will port it to Debian 8.
Download tigervnc from repository.
Checkout with hash which was used by this article.
$ mkdir tigervnc
$ cd tigervnc
$ git clone https://github.com/TigerVNC/tigervnc
$ cd tigervnc/
$ git checkout 044e2b87da7121ef6cbd59e88b101d7d8e282896 \
-b 044e2b87da7121ef6cbd59e88b101d7d8e282896
Move devscripts files to the top of directory with symbolic link.
$ ln -s contrib/packages/deb/ubuntu-xenial/debian
Convert package name which is different Ubuntu 16.04 from Debian 8.
$ sed -i -e 's/libjpeg-turbo8/libjpeg62-turbo/g' \
    -e 's/libgnutls30/libgnutls-deb0-28/g' \
    -e 's/libgnutls-dev/libgnutls28-dev/g' debian/control
Install packages for building tigervnc.
$ sudo apt install -y $(grep Build-Depends: debian/control | \
    sed -e 's/Build-Depends://g' -e 's/([^\)]*)//g' -e 's/,//g')
Make unused but failed patch to be empty.
$ rm debian/xorg-source-patches/xserver118-patch.patch
$ touch debian/xorg-source-patches/xserver118-patch.patch
Build tigervnc.
$ chmod a+x debian/rules
$ fakeroot debian/rules binary
Install deb files while installing depend package with running "apt -f install".
$ cd ..
$ sudo dpkg -i *.deb || (sudo apt -f install -y ; sudo dpkg -i *.deb)
$ cd ..
5 Run VNC server
Create password with vncpasswd.
$ vncpasswd
Password:
Verify:
Would you like to enter a view-only password (y/n)? n
Run vncserver. Remote access port is 5900 + display nummber.
A port of below example is 5901.
$ vncserver

New 'ubuntu-16:1 (hiroom2)' desktop is ubuntu-16:1

Starting applications specified in /home/hiroom2/.vnc/xstartup
Log file is /home/hiroom2/.vnc/ubuntu-16:1.log
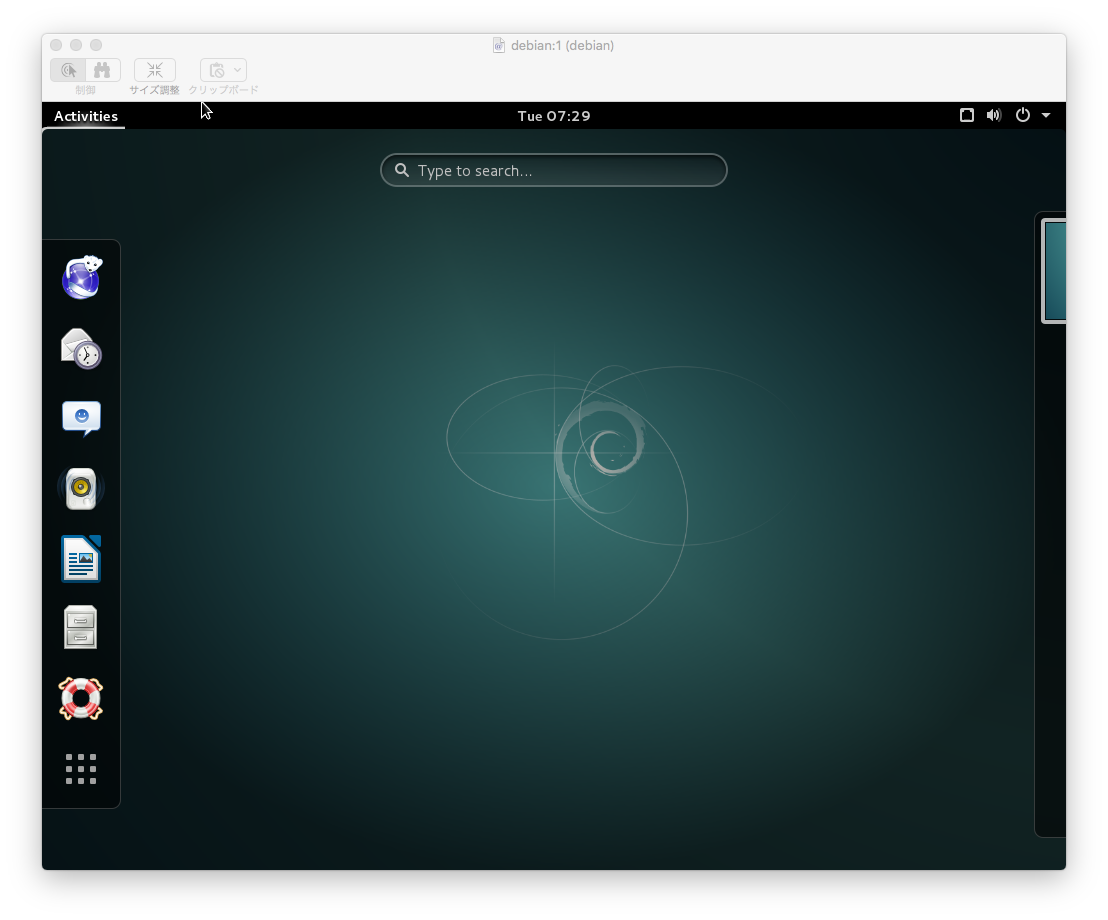
Connect to vnc://<server>:5901 with remote vnc client.
Input password and connection will be completed as below.
6 Run XRDP server
Install and run xrdp.
$ sudo apt install -y xrdp # please check if vnc4server is not installed
$ sudo systemctl enable xrdp
$ sudo systemctl restart xrdp
Connect to xrdp with rdesktop or "Remote Desktop" on Windows.
Input username and password, and connection will be completed.
