This article will describe installing Jenkins running on apache2.
Table of Contents
1 Install Jenkins
Install openjdk-7-jdk in case of Debian 8 and openjdk-8-jdk in case of Ubuntu 16.04.
#!/bin/sh

sudo apt-get install -y apache2 openjdk-8-jdk
wget -q -O - http://pkg.jenkins-ci.org/debian/jenkins-ci.org.key | sudo apt-key add -
sudo su -c 'echo deb http://pkg.jenkins-ci.org/debian binary/ > /etc/apt/sources.list.d/jenkins.list'
sudo apt-get update -y
sudo apt-get install -y jenkins
sudo su -c 'echo JENKINS_ARGS=\"\$JENKINS_ARGS --prefix=\$PREFIX\" >> /etc/default/jenkins'
sudo service jenkins restart
sudo su -c 'cat << EOF > /etc/apache2/mods-enabled/jenkins.conf
ProxyPass           /jenkins  http://localhost:8080/jenkins
ProxyPassReverse    /jenkins  http://localhost:8080/jenkins
ProxyRequests       Off
AllowEncodedSlashes NoDecode

<Proxy http://localhost:8080/jenkins>
  Order deny,allow
  Allow from all
</Proxy>
EOF'
sudo a2enmod proxy
sudo a2enmod proxy_http
sudo service apache2 restart
2 Access to Jenkins
Access to Jenkins with URL as below.
http://[IP address fo server]/jenkins
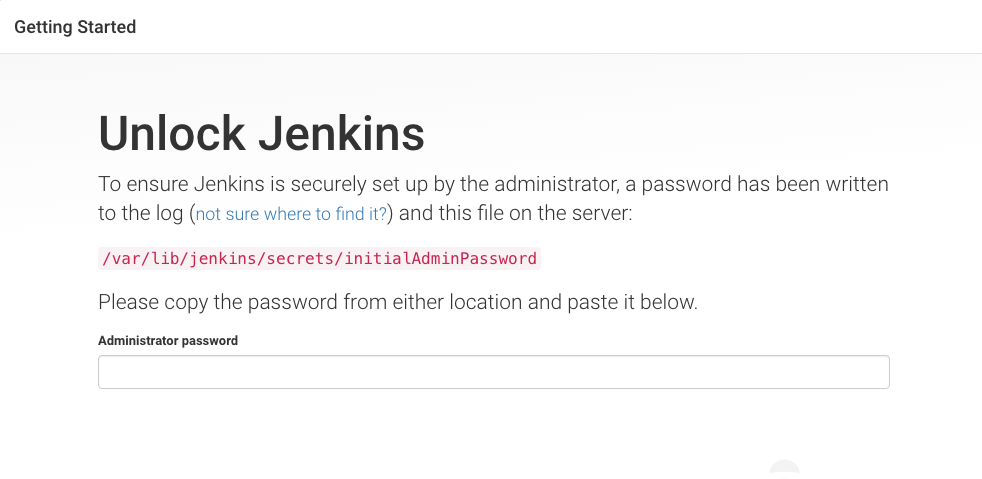
Jenkins require password authentication. The password is in /var/lib/jenkins/secrets/initialAdminPassword.
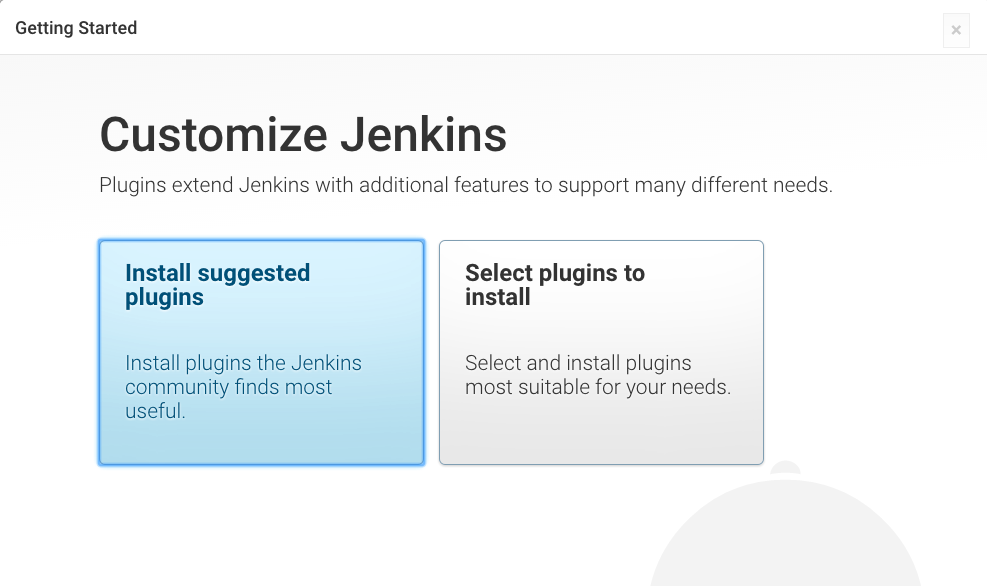
Install suggested plugin.
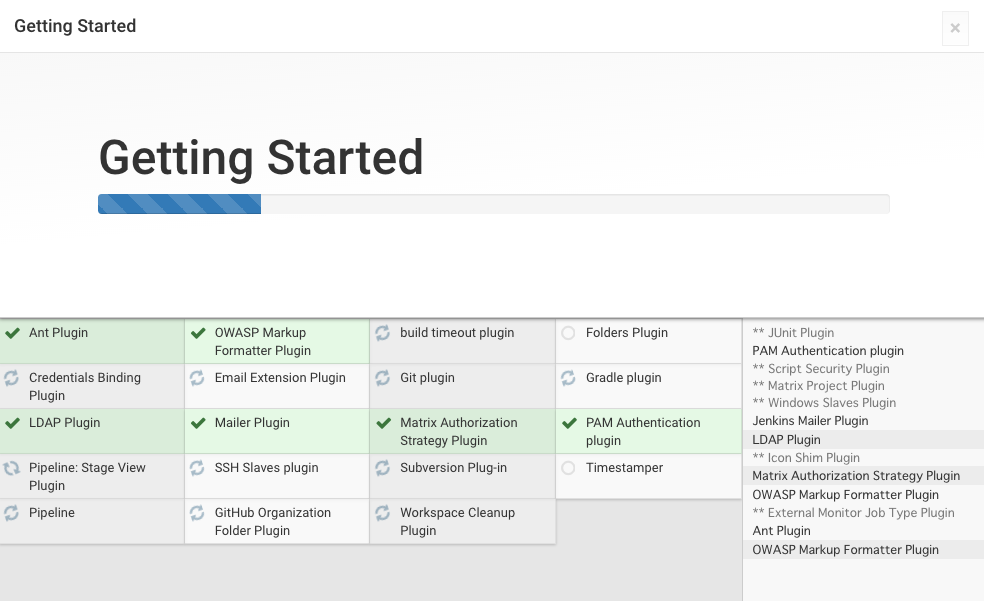
Plugin install will starts.
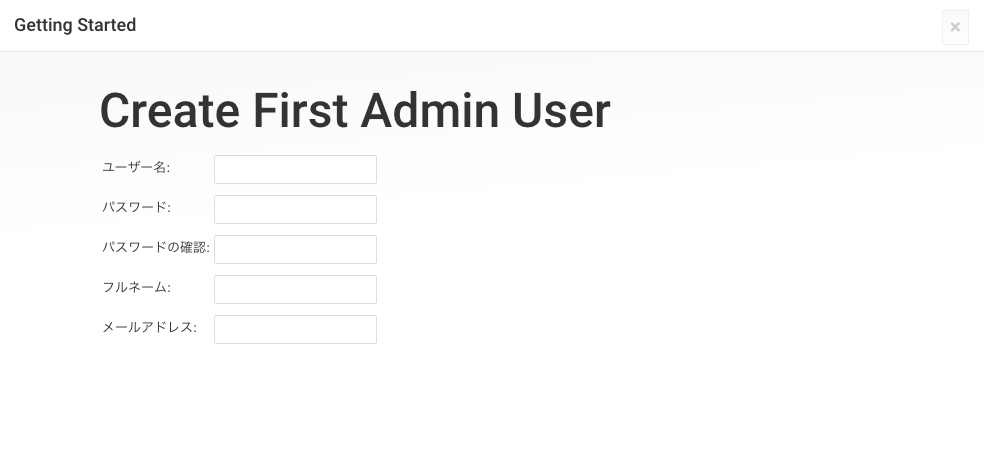
Add admin user.
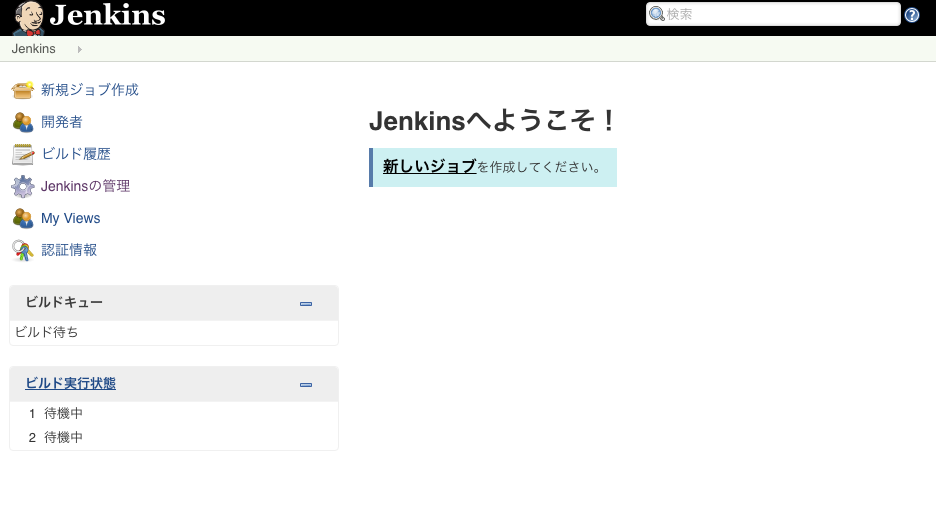
Jenkins setting is completed.

Now you can start jenkins.