This article will describe building Yocto and running QEMU.
Table of Contents
1 System environment
This article uses virtual machine as below.
| CPU core number | 1 |
| RAM | 1GB |
| スワップ | 1GB |
| ストレージ | 80GB |
2 Install package for building Yocto
Install package according to Yocto QuickStart.
$ sudo apt-get install -y gawk wget git-core diffstat unzip texinfo
gcc-multilib build-essential chrpath socat libsdl1.2-dev xterm
3 Download poky
Download poky which is build tools for Yocto.
$ git clone http://git.yoctoproject.org/git/poky
4 Run oe-init-build-env
Run oe-init-build-env which will set PATH to build tools and create build directory.
$ cd poky
$ . oe-init-build-env
5 conf/local.conf
A conf/local.conf defines CPU architecture, build thread number and make -j option number. This article use default local.conf which defines qemux86 as CPU architecture.
$ emacs conf/local.conf
| BB_NUMBER_THREADS | Build thread number |
| PARALLEL_MAKE | make -j option number |
| MACHINE | CPU architecture |
6 Build Yocto with core-image-minimal
A core-image-minimal is recipe for building minimal rootfs without X-window package.
$ bitbake core-image-minimal
WARNING: Host distribution "Ubuntu-16.04" has not been validated with
this version of the build system; you may possibly experience
unexpected failures. It is recommended that you use a tested distribution.
It takes 3 hours to build core-image-minimal on this system environment.
A size of build directory is about 20GB. If you use core-image-sato for building rootfs with X-window application, a size of build directory will be about 30G.
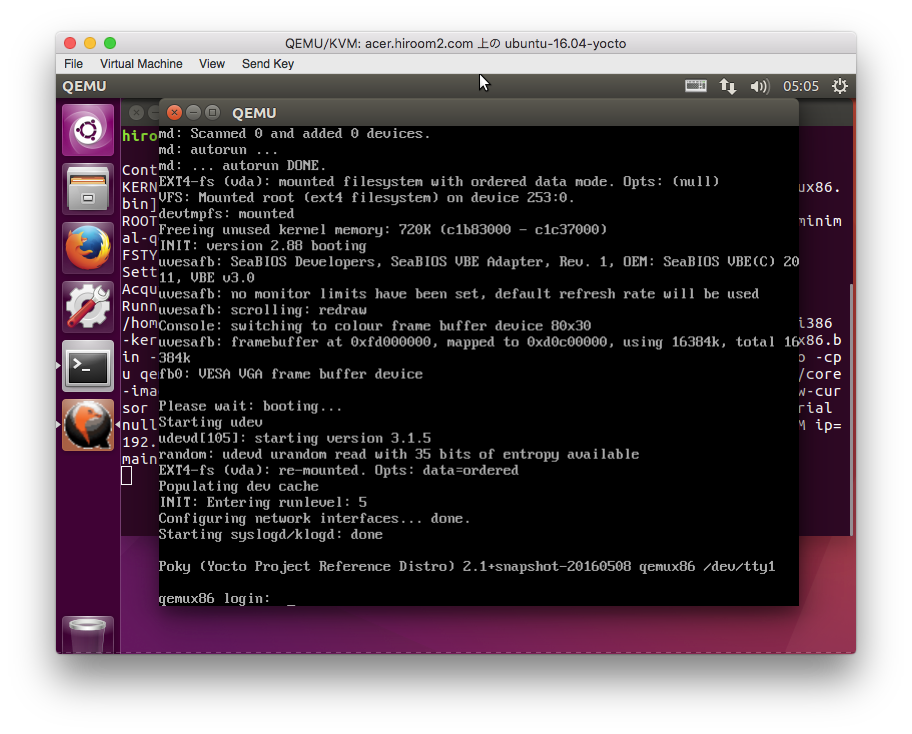
7 Run QEMU
After running oe-init-build-env, runqemu command can be used.
$ runqemu qemux86
Changing console to serial or GDB connection can be used.
$ runqemu qemux86 nographic
$ runqemu qemux86 qemuparams="-gdb tcp::10000 -S" # wait gdb's target remote